Learn how to personalize the subject lines and timing for your event confirmation and reminder emails. This guide will help you set up custom messages and adjust reminder schedules to improve attendee communication.
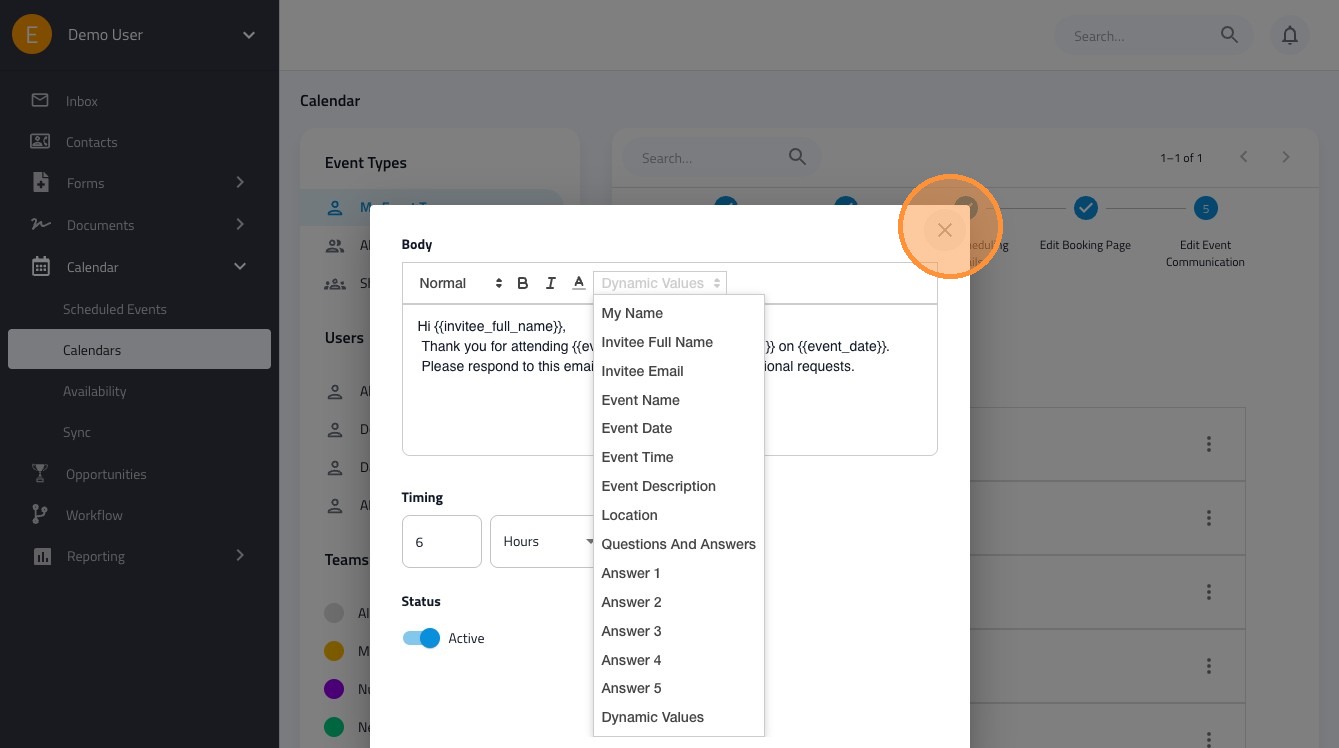
You can use the following codes to include dynamic answers in your messages:
- {{my_name}}
- {{invitee_full_name}}
- {{invitee_email}}
- {{event_name}}
- {{event_date}}
- {{event_time}}
- {{event_description}}
- {{location}}
- {{questions_and_answers}}
- {{answer_1}}
- {{answer_2}}
- {{answer_3}}
- {{answer_4}}
- {{answer_5}}
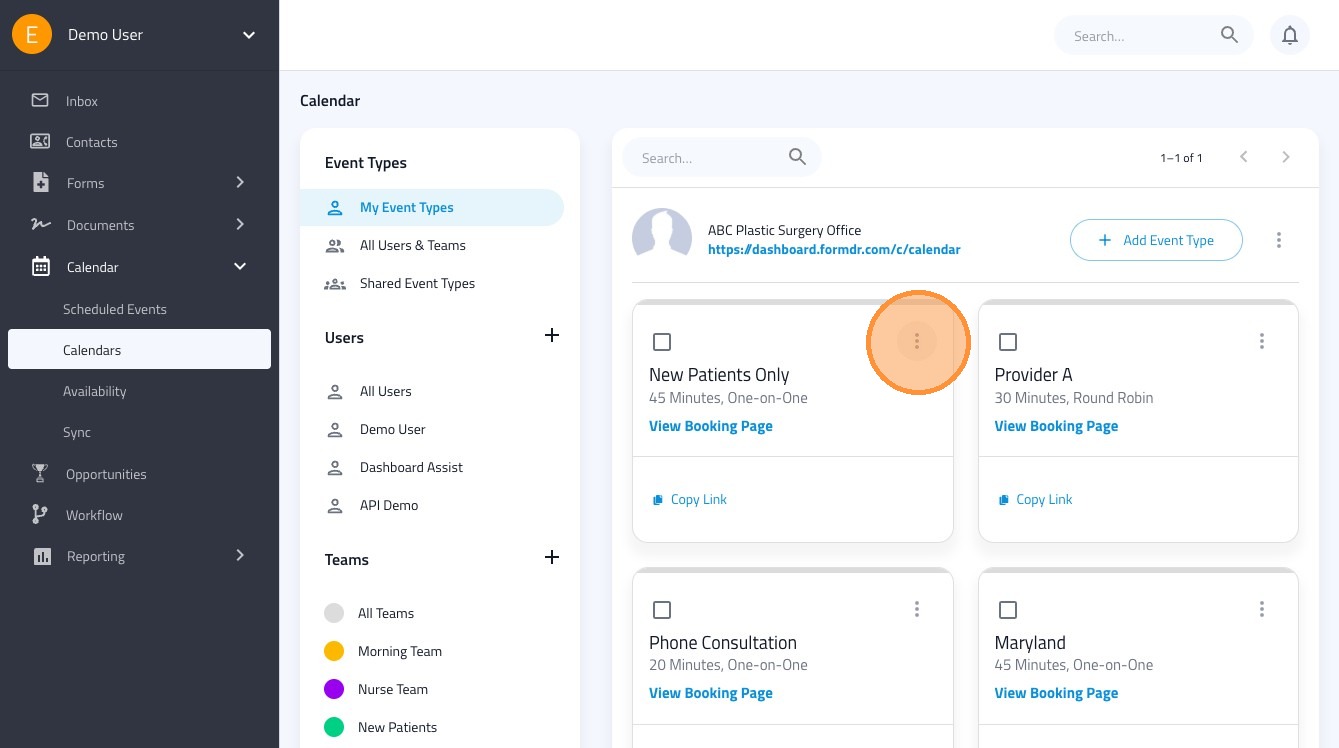
1. Navigate to https://dashboard.formdr.com/calendar/event-type

2. Click this icon on the event type you'd like to edit.
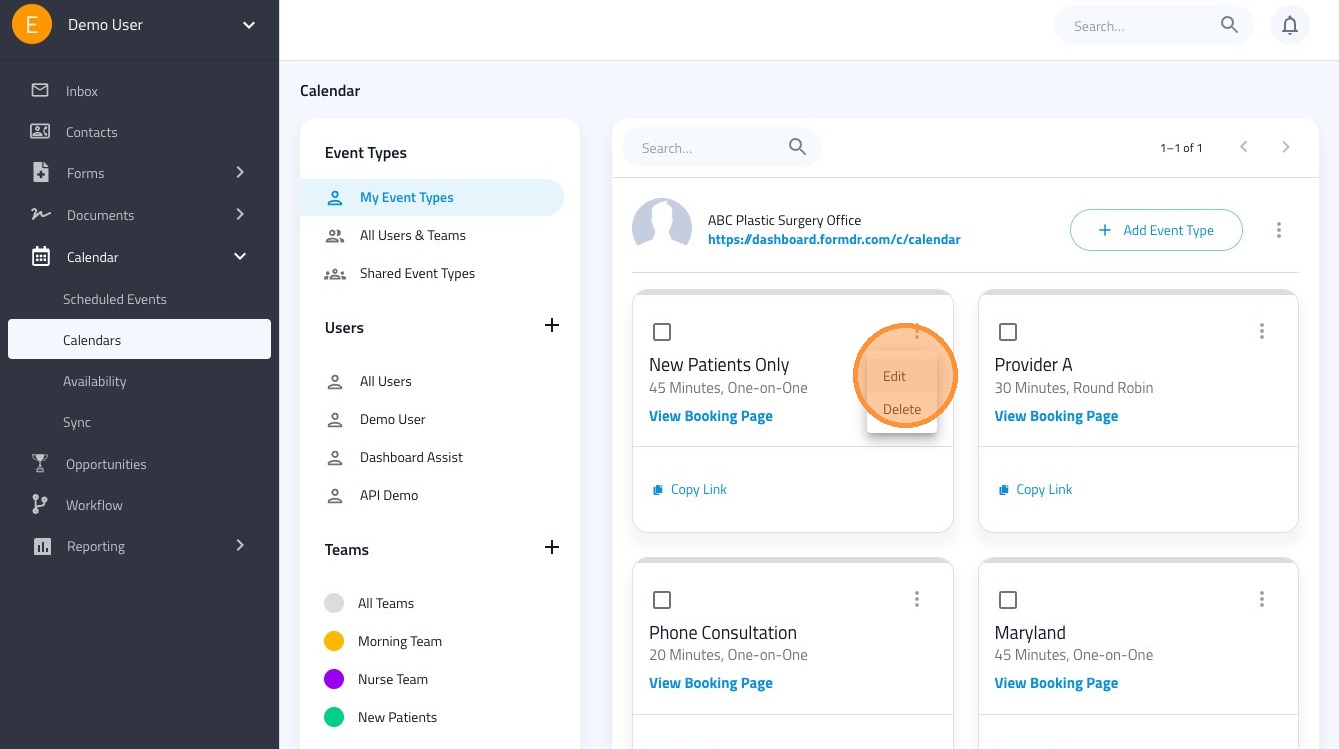
3. Click "Edit" to get to the event settings.
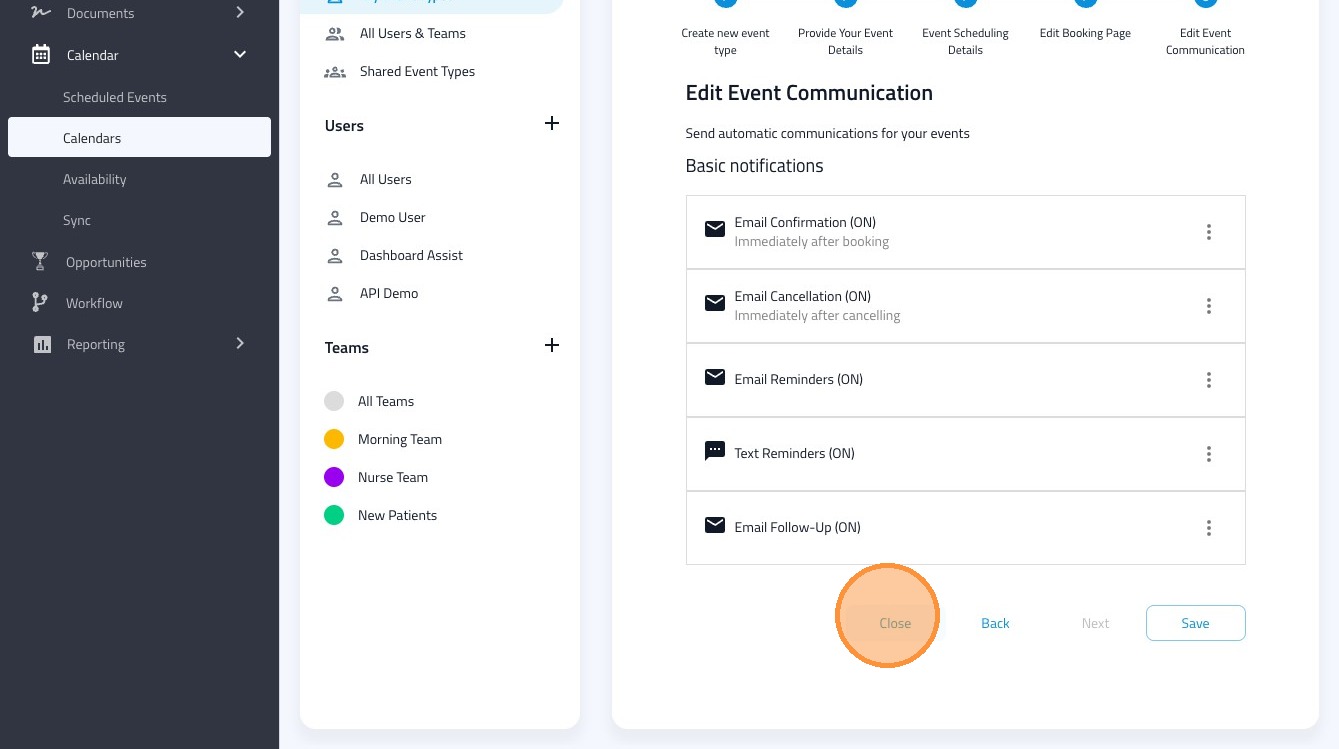
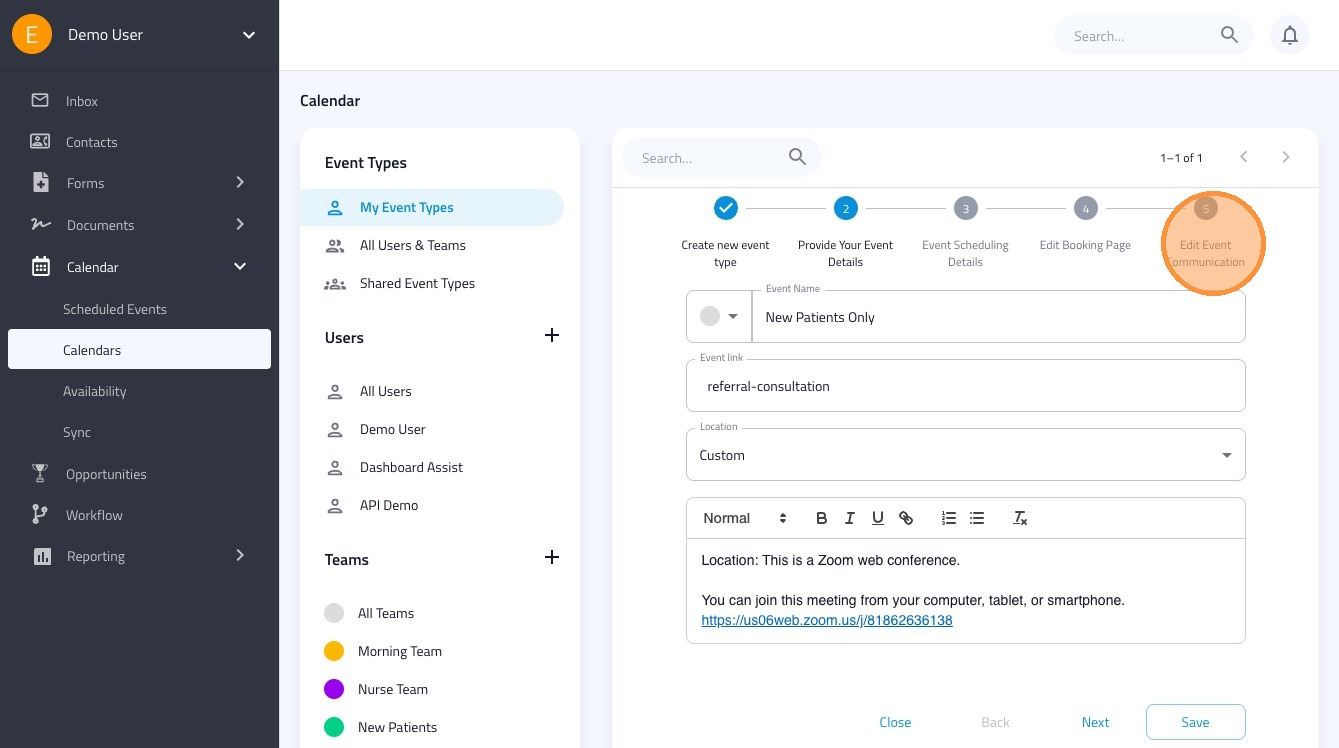
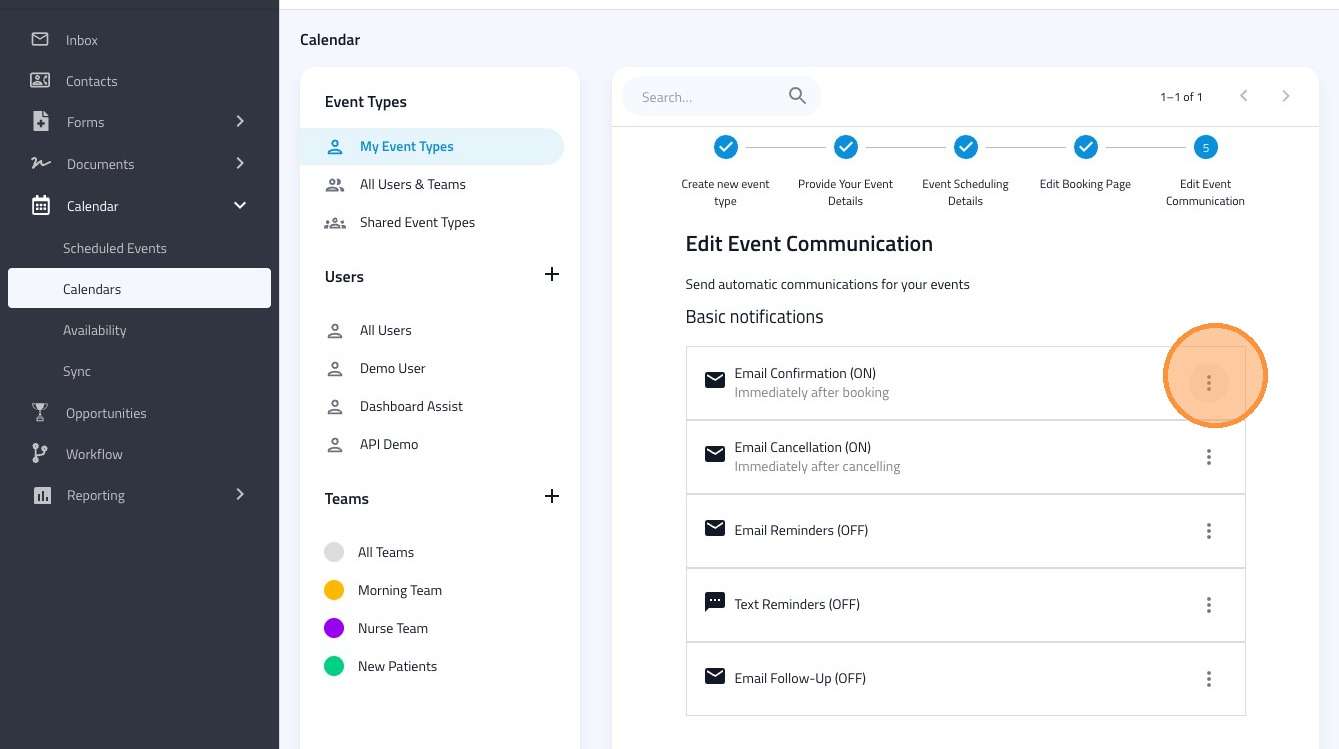
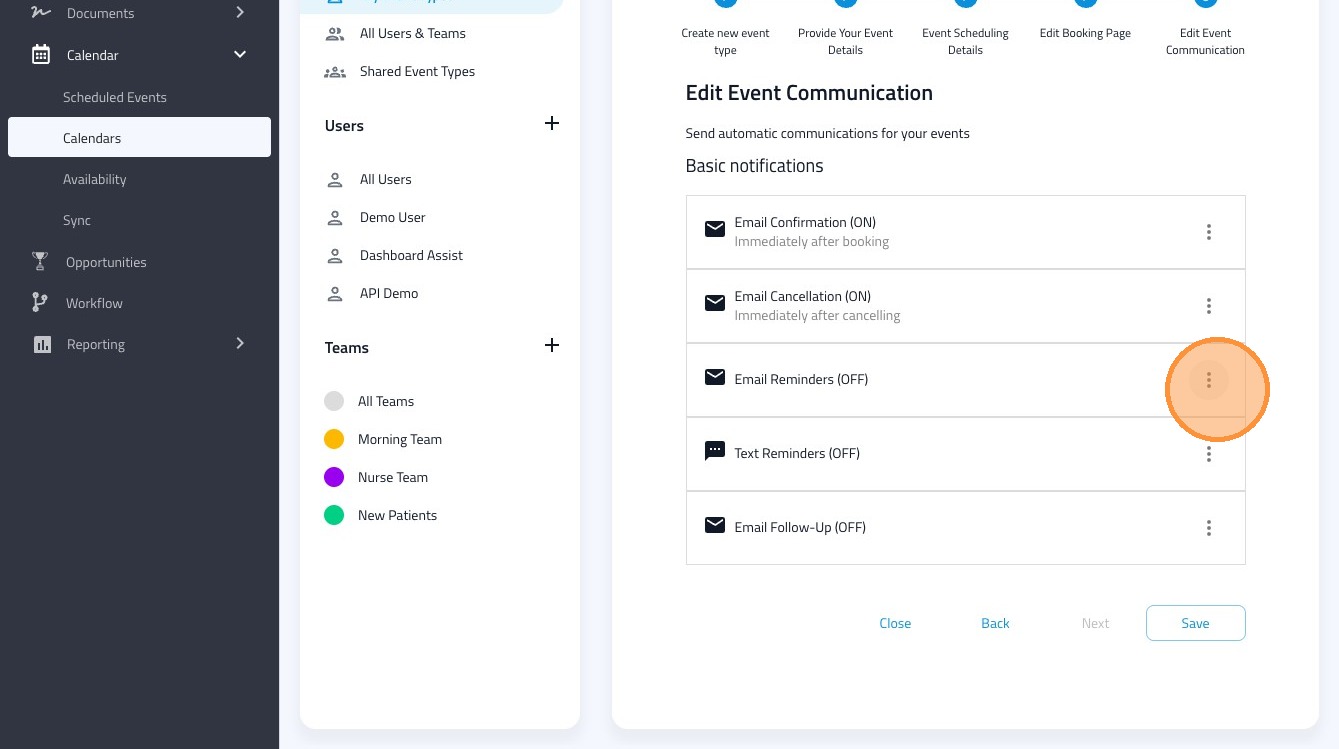
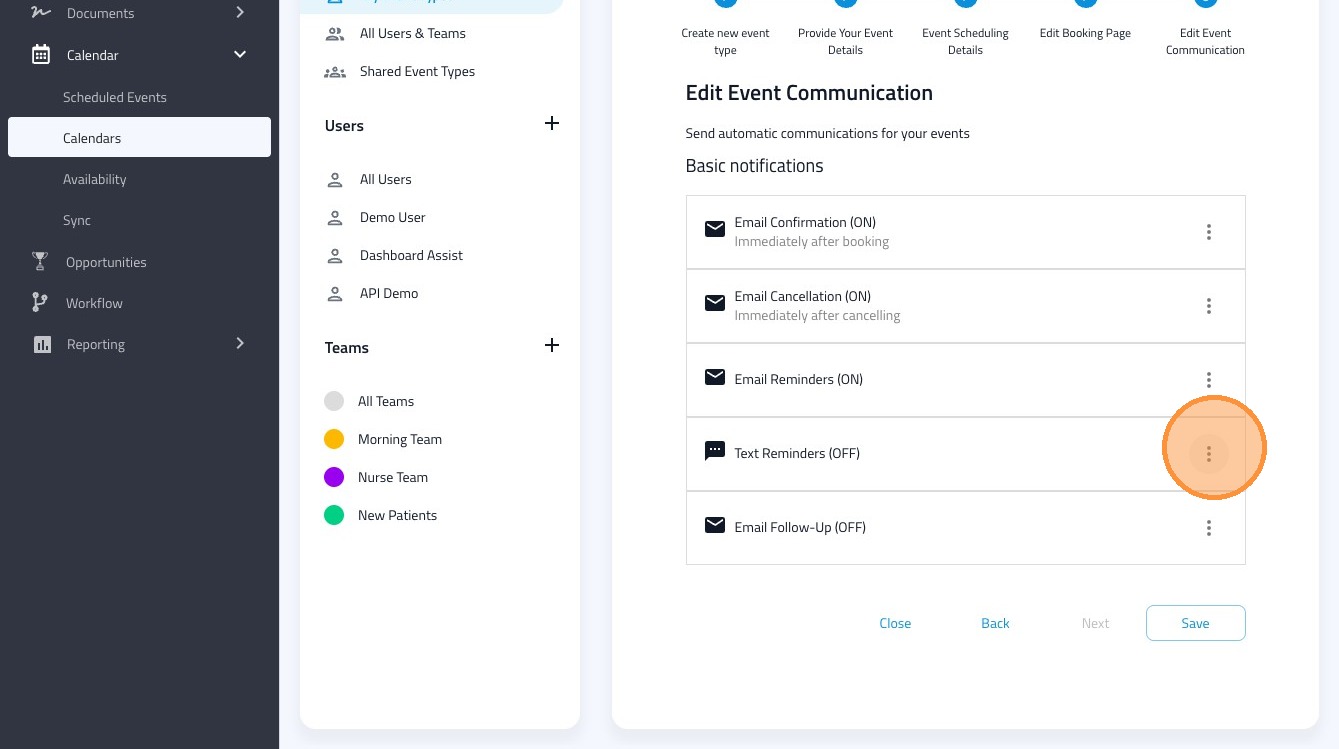
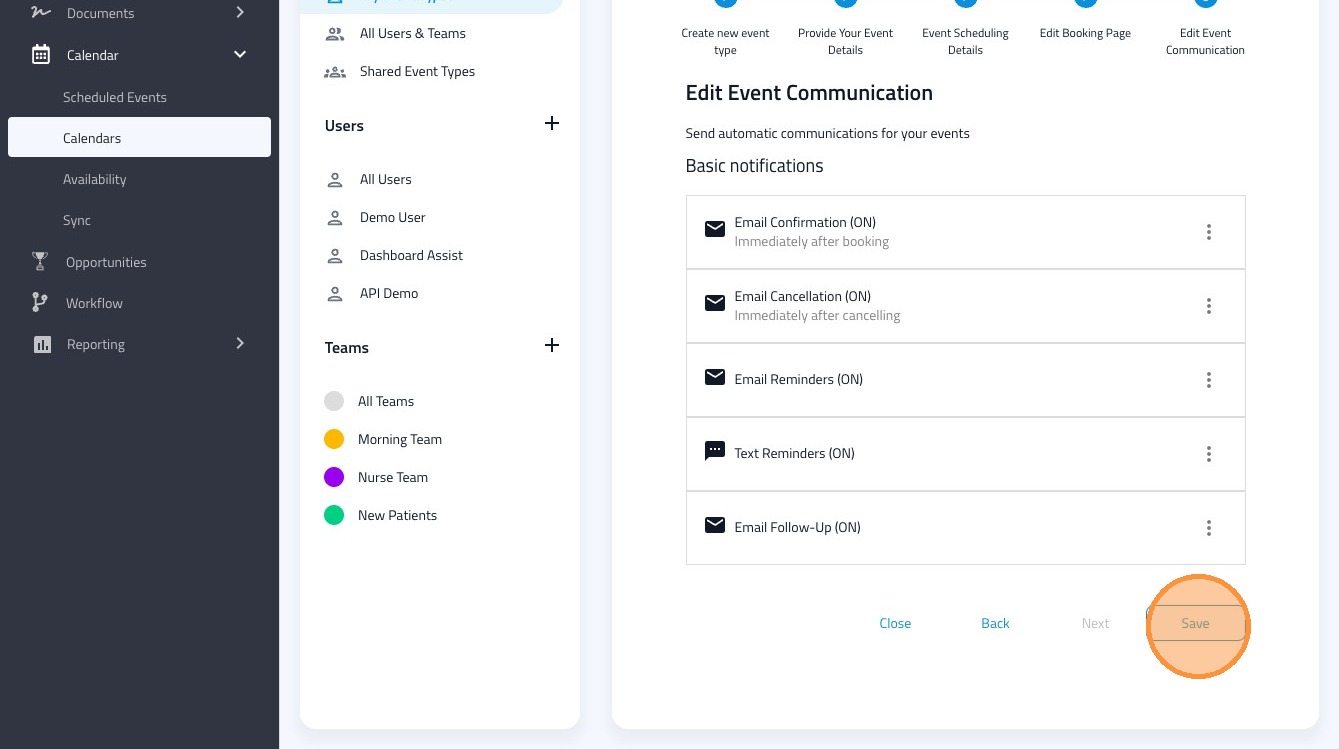
4. Click "Edit Event Communication" to view the communication going to the patient
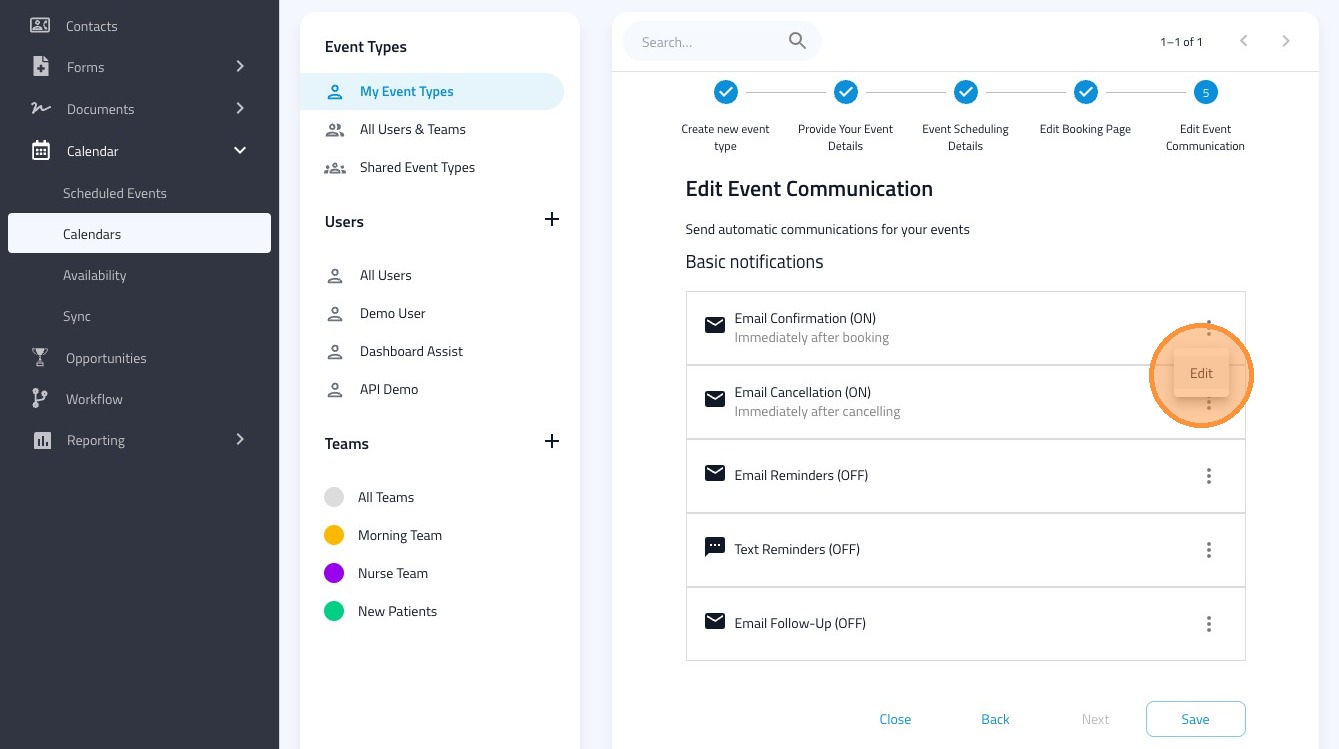
5. Click this icon.
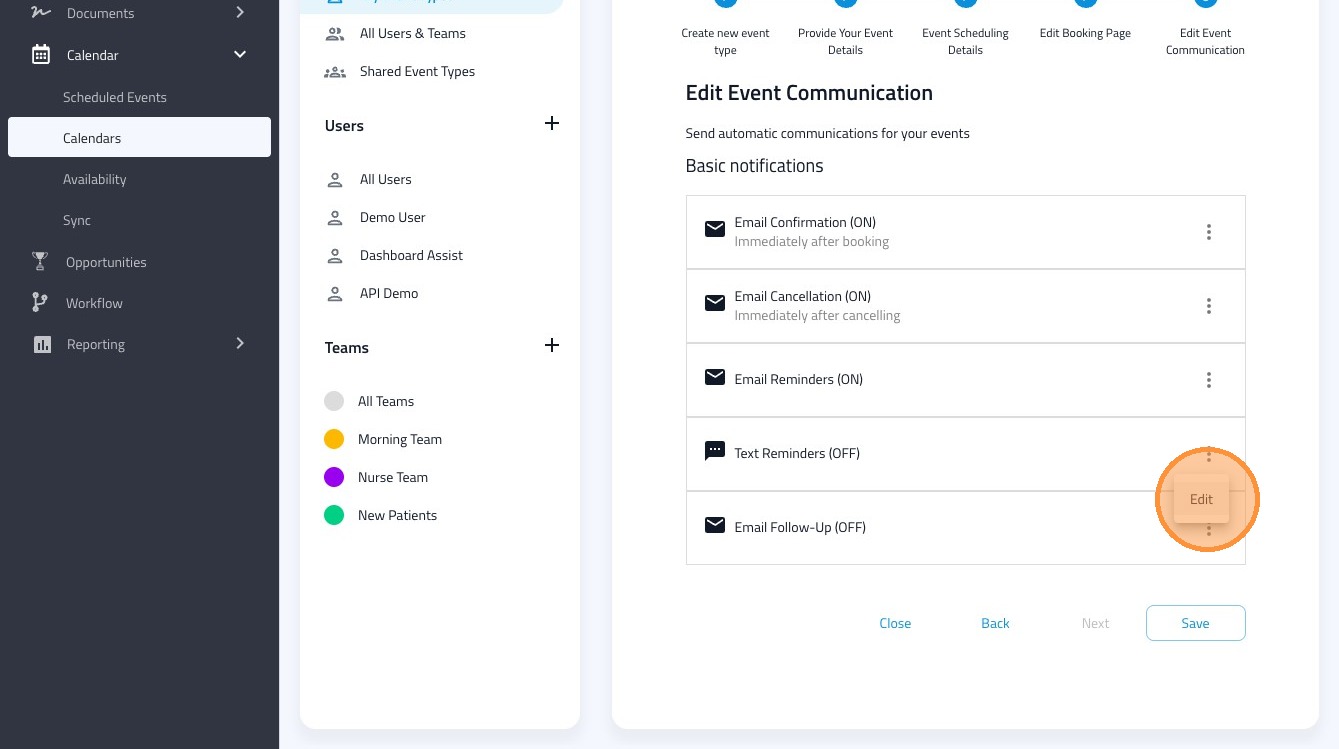
6. Click "Edit" to modify the email confirmation
7. You can modify the "Email Confirmation Subject" field.
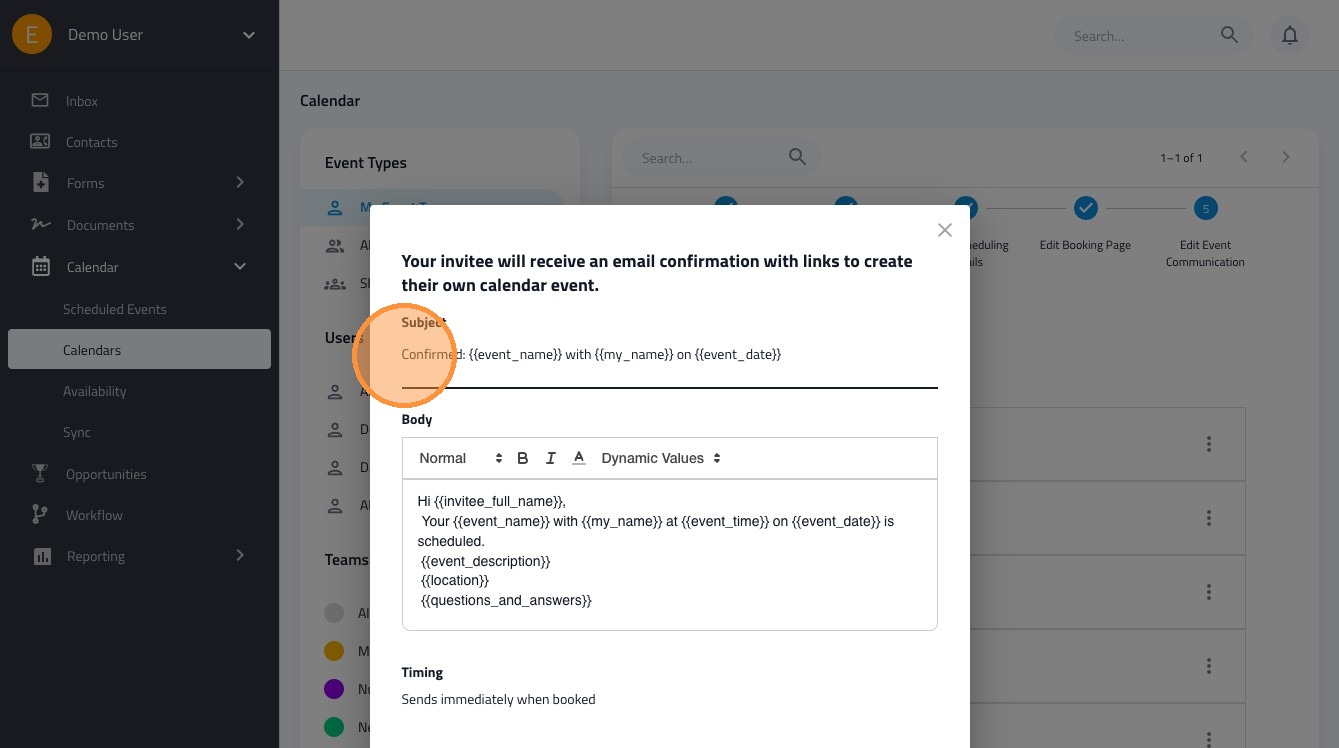
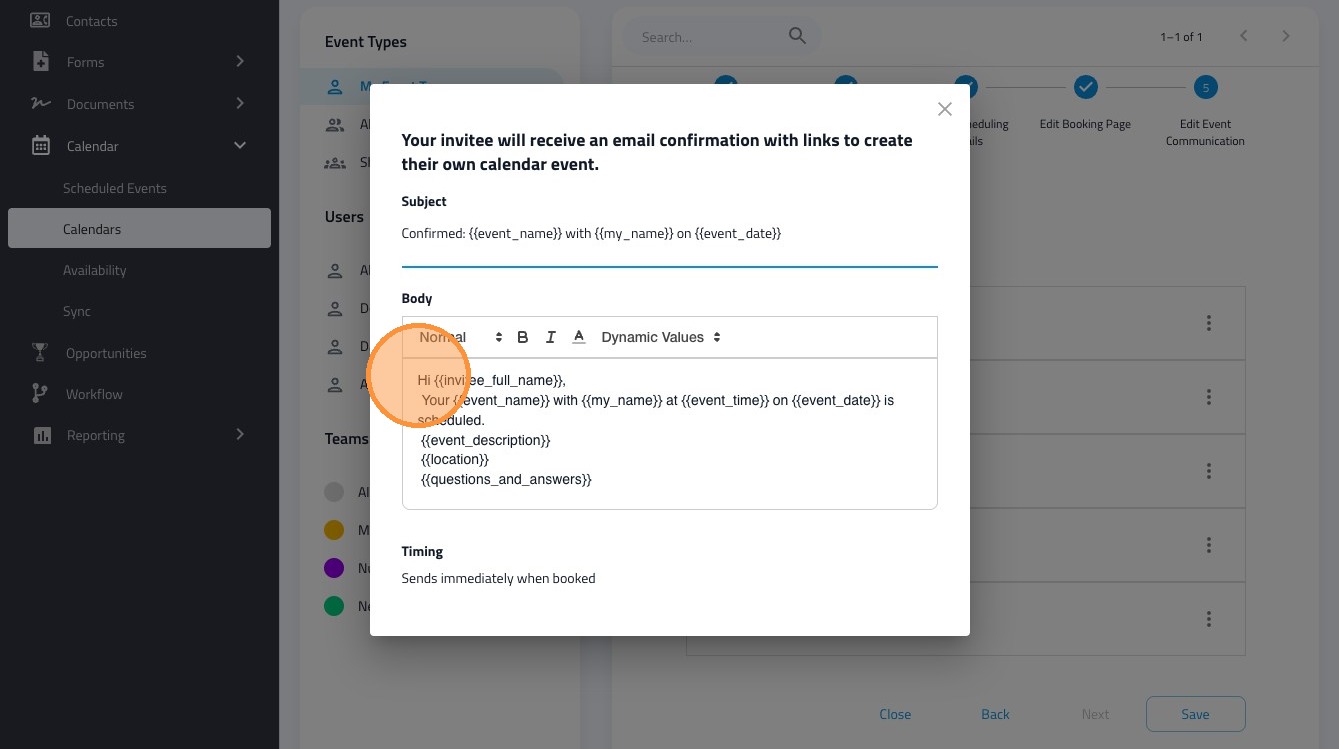
8. Adjust the body of the email here.
9. Click this icon to turn email reminders on
10. Click "Edit"

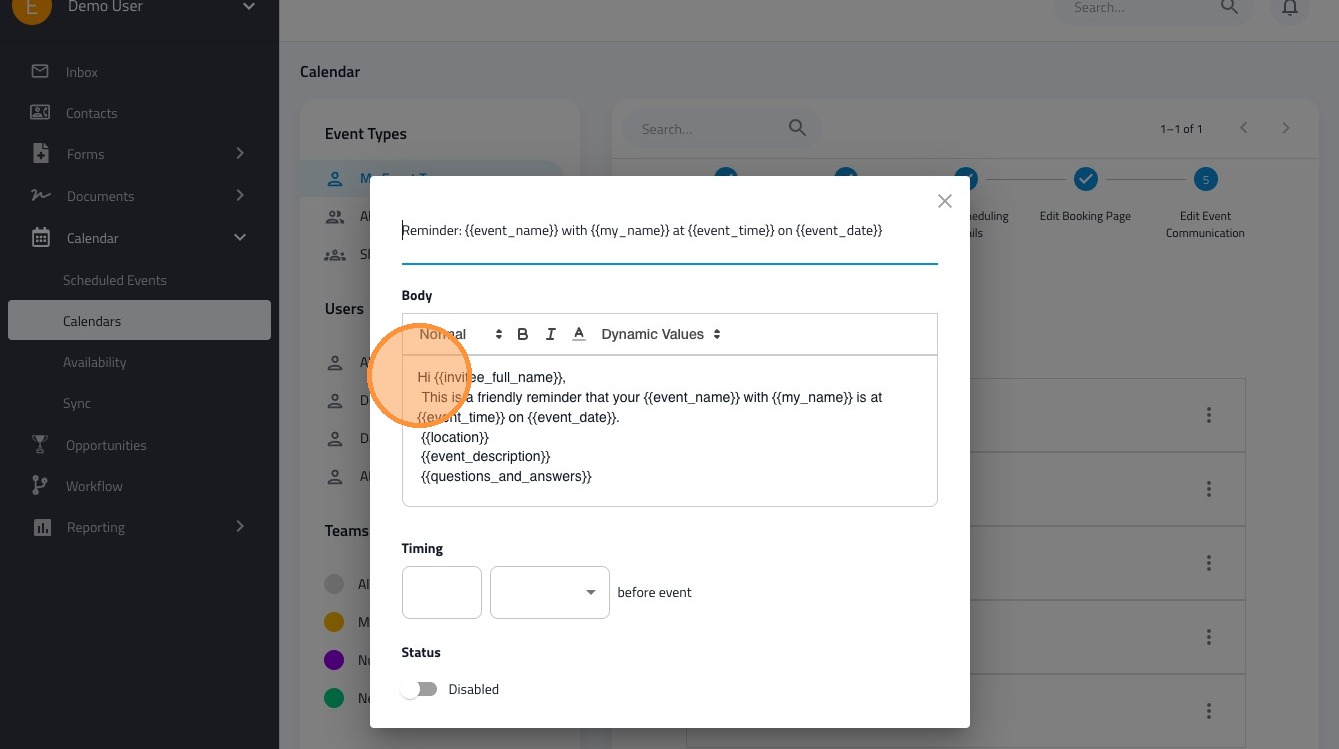
11. Adjust the "Email Reminder Subject" field.
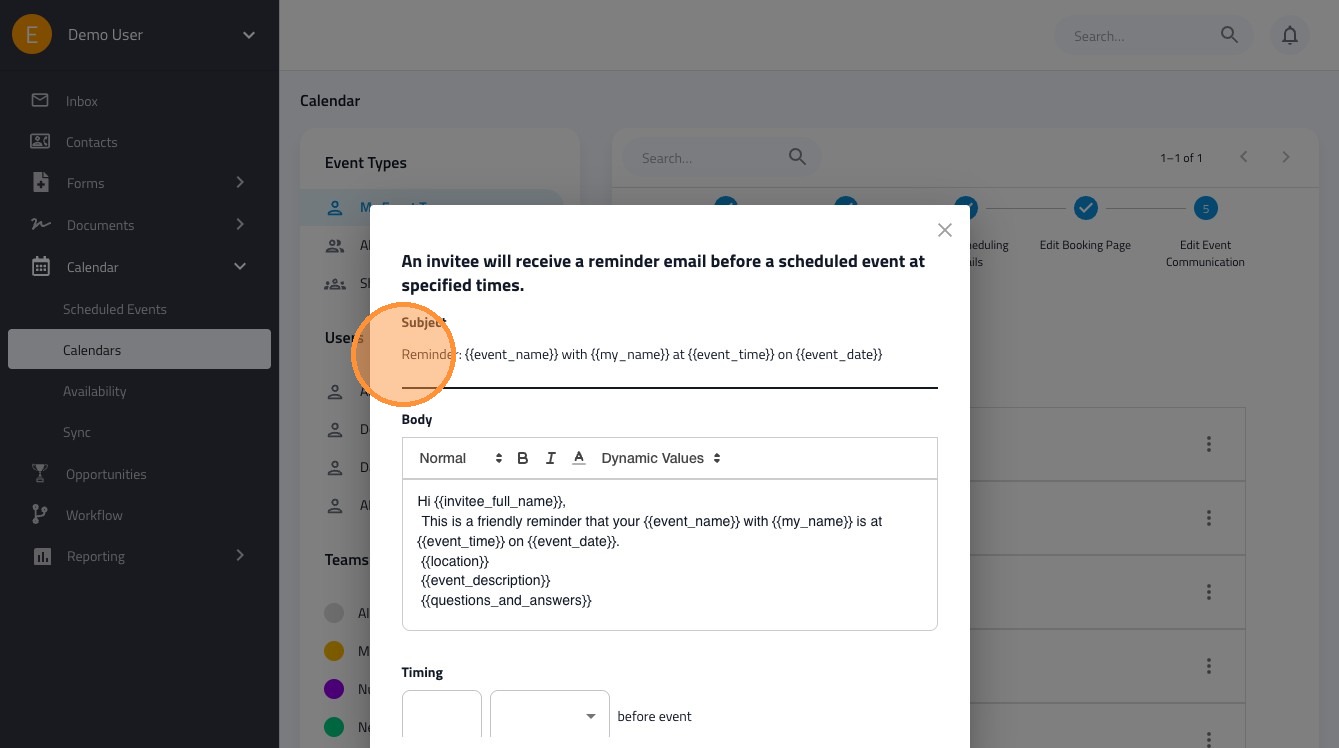
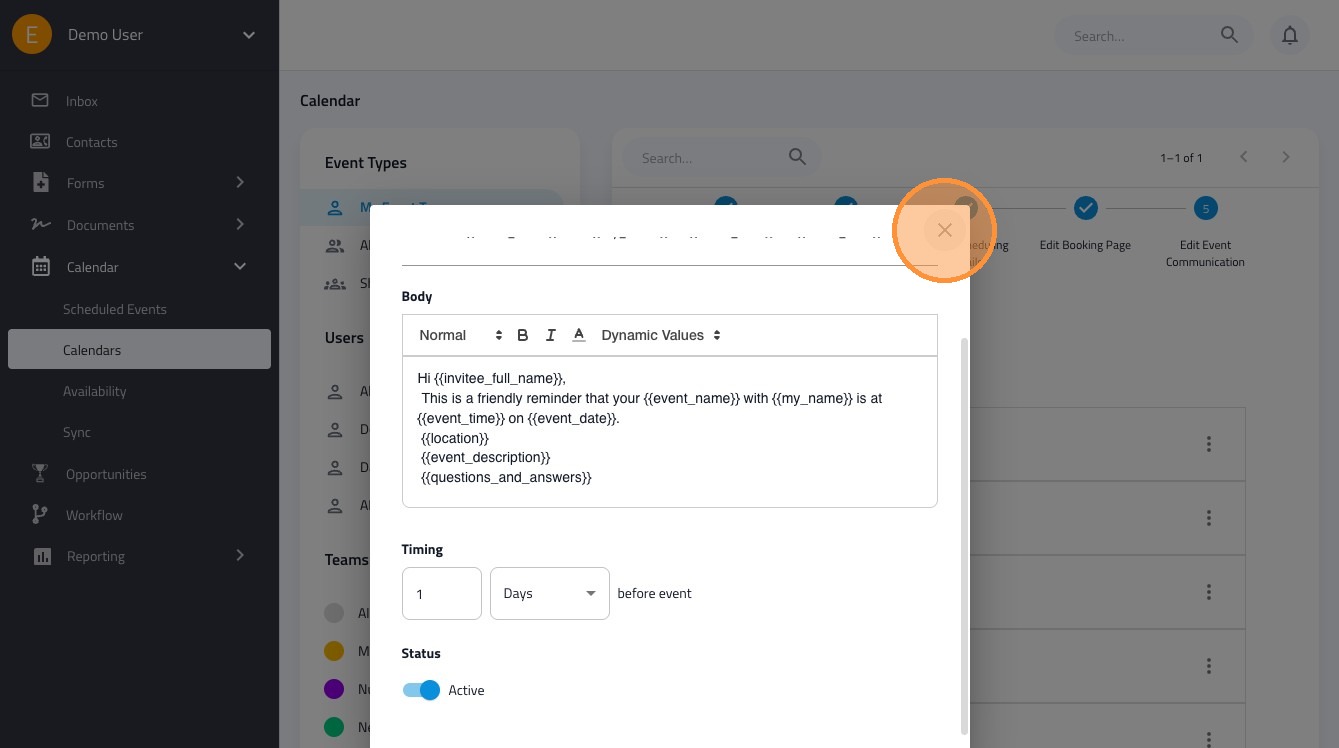
12. Adjust the body of the Email Reminder.
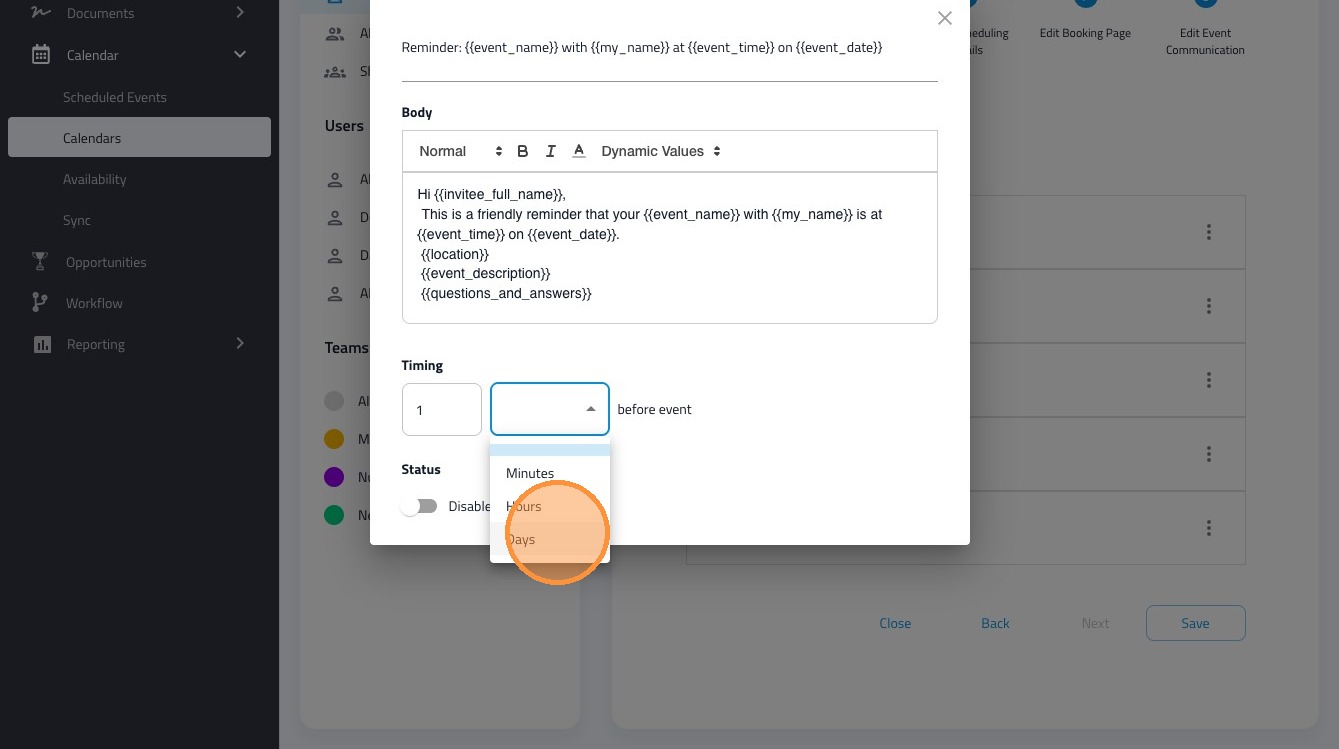
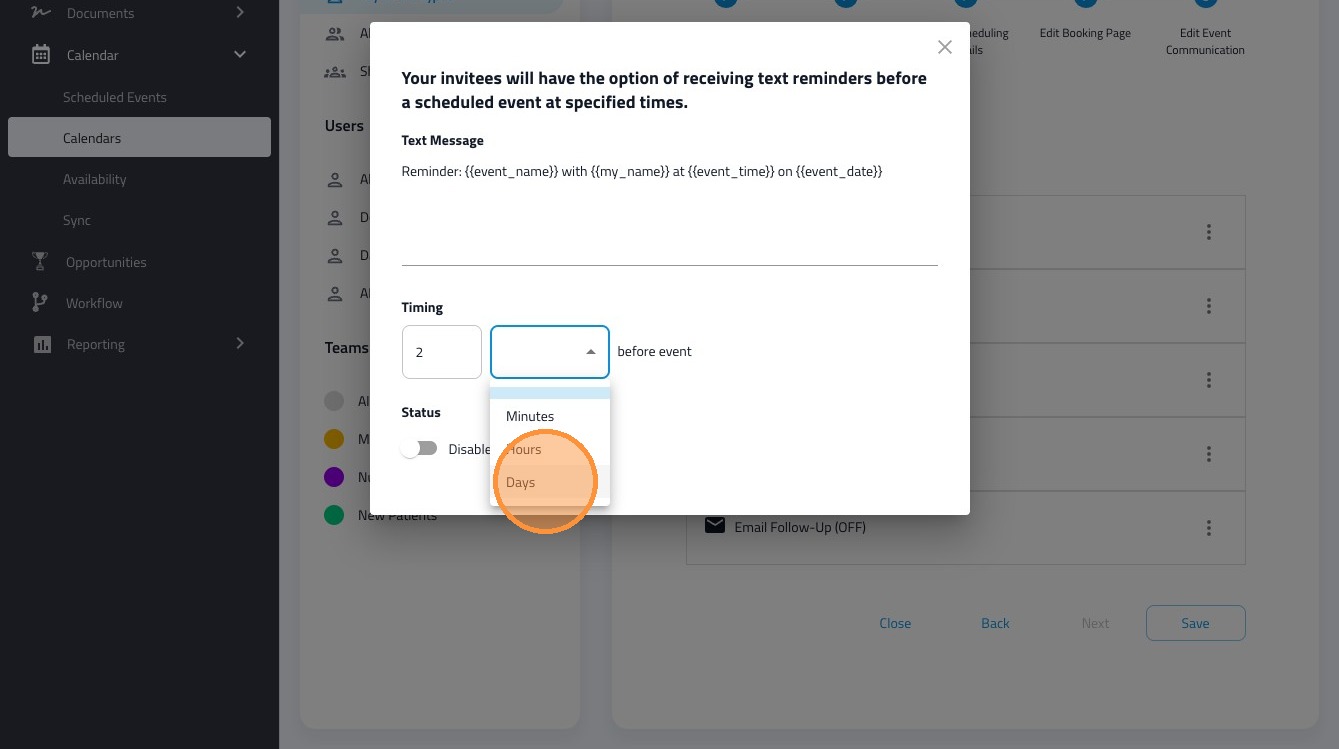
13. Click this number field to adjust the timing of the email
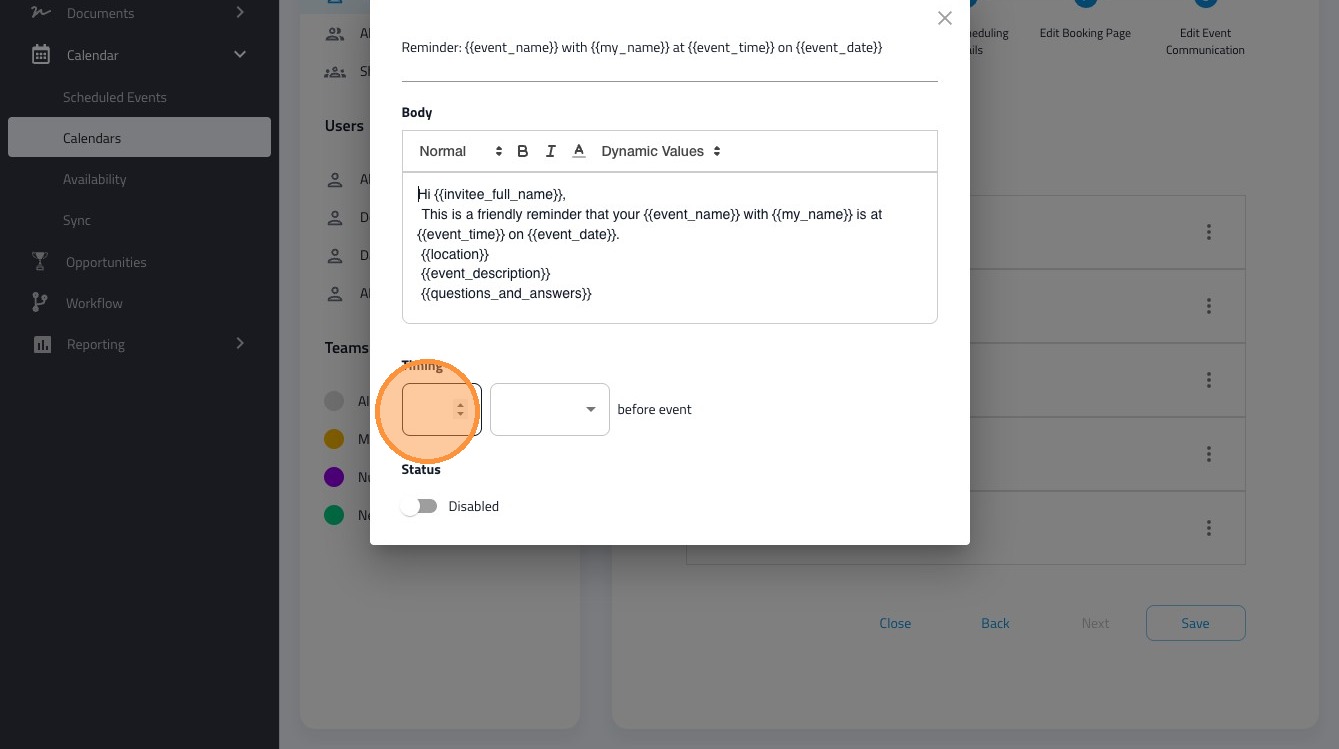
14. Add your interval here (Minutes, Hours, or Days).
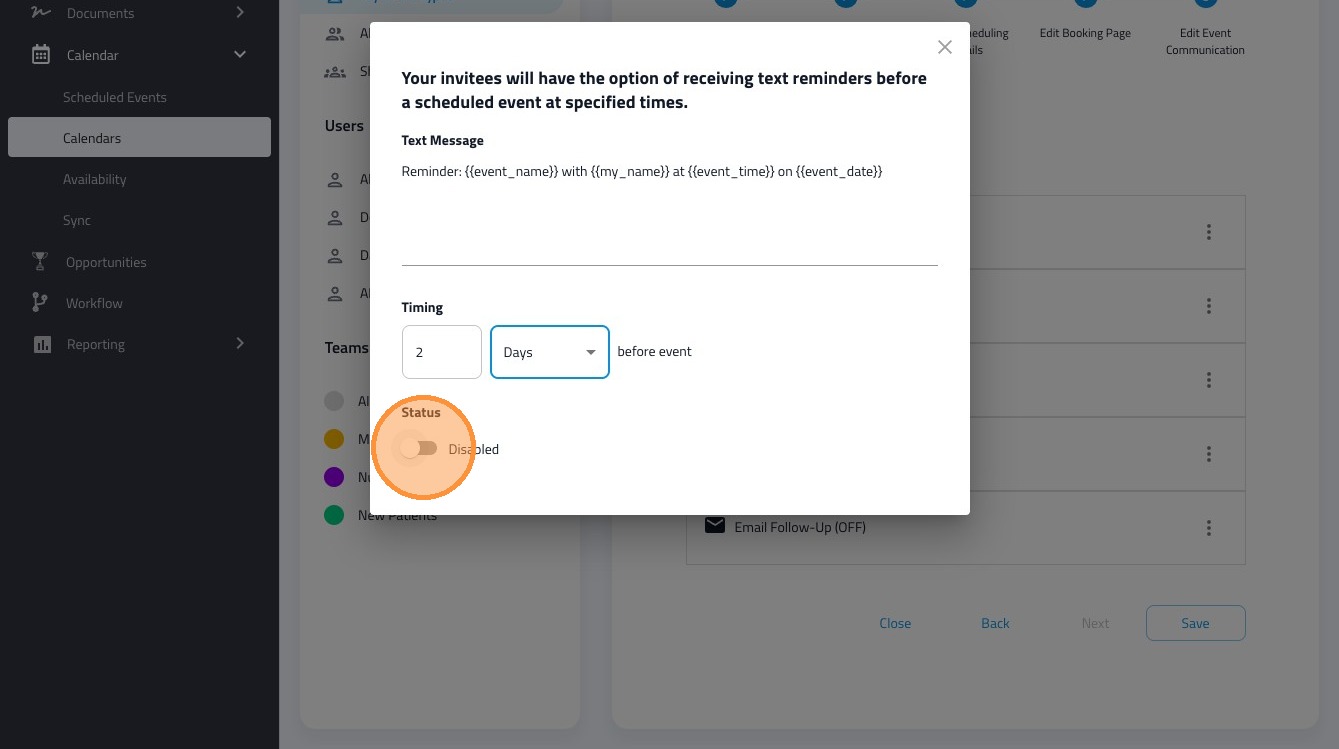
15. Click the "Disabled" field to Enable to the notification.

16. You can close this screen and your settings will be saved automatically.
17. Click this icon to adjust text message reminders.
18. Click "Edit"
19. Click the "Text Reminder" field to adjust the message.
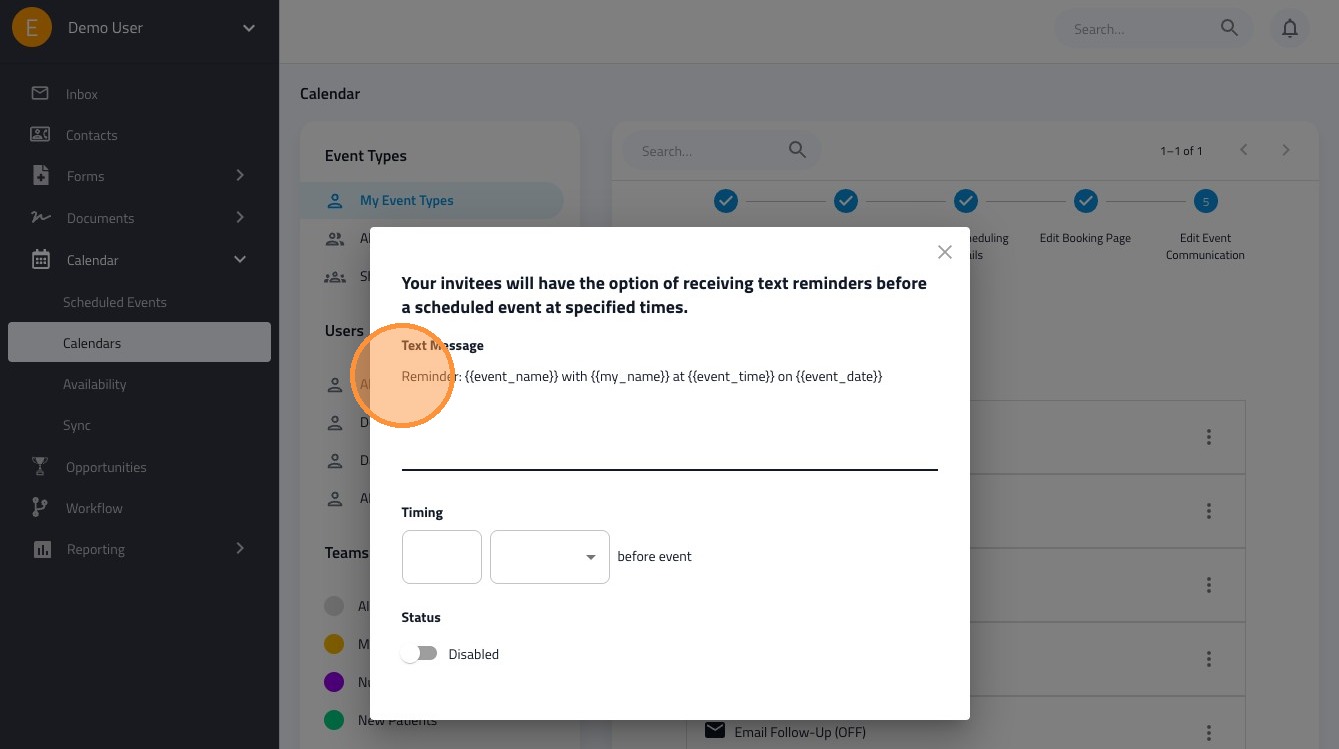
20. Click this number field.

21. Add your interval here (Minutes, Hours, or Days).
22. Click the "Disabled" field to enable the text message reminder.
23. You can close the window and your settings will be saved.

24. Click this icon.
25. Click "Save" to save the event communication changes.
26. Click "Close" to return.