Learn how to set up an automated workflow to manage new patient referrals. This guide will walk you through configuring triggers and actions to streamline your referral intake process.
Tip: The workflow we will be creating will perform the following steps automatically:
Once a "Referral Form" is submitted, then set the contact status to "Referral completed, then send the contact the "Patient Intake Forms Packet," then send the text message template called "Schedule an Appointment"
1. Navigate to https://dashboard.formdr.com/workflow
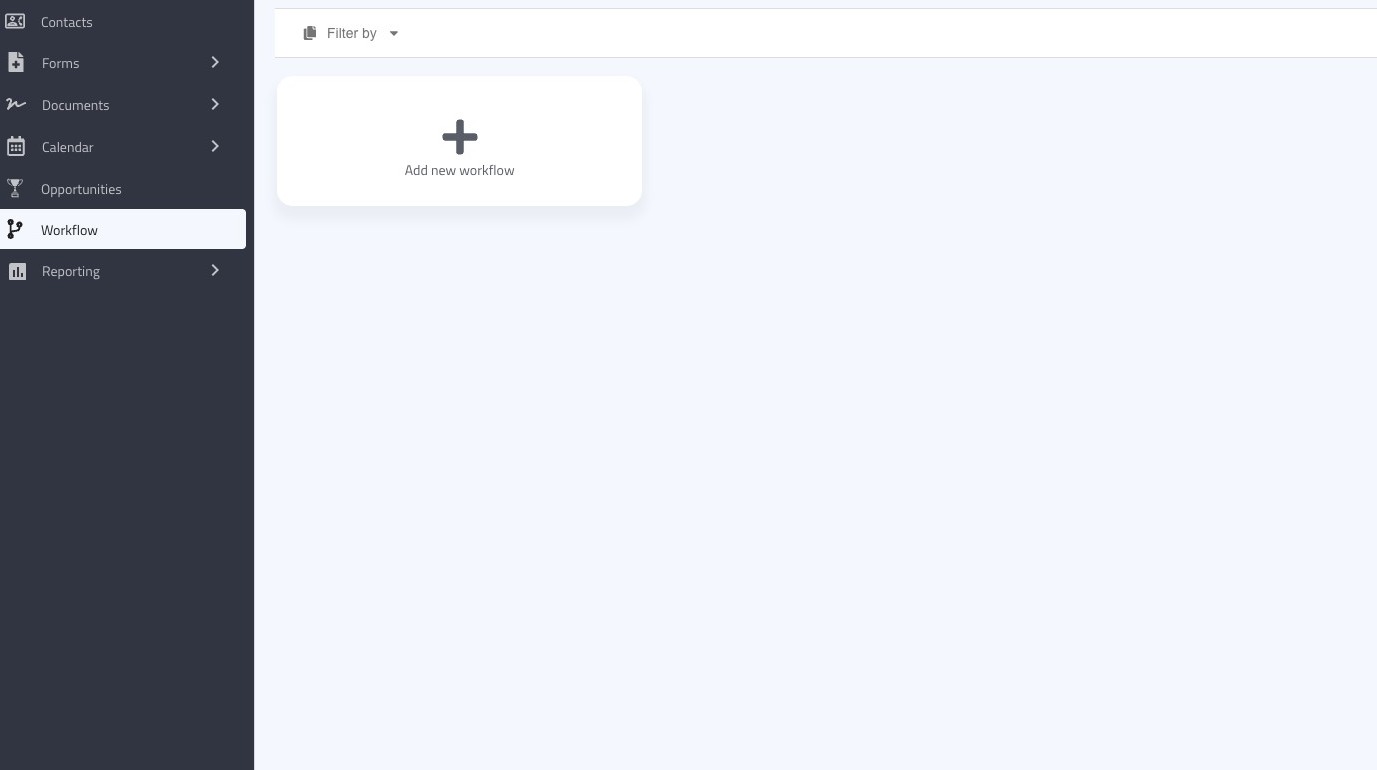
2. Click "add new workflow"

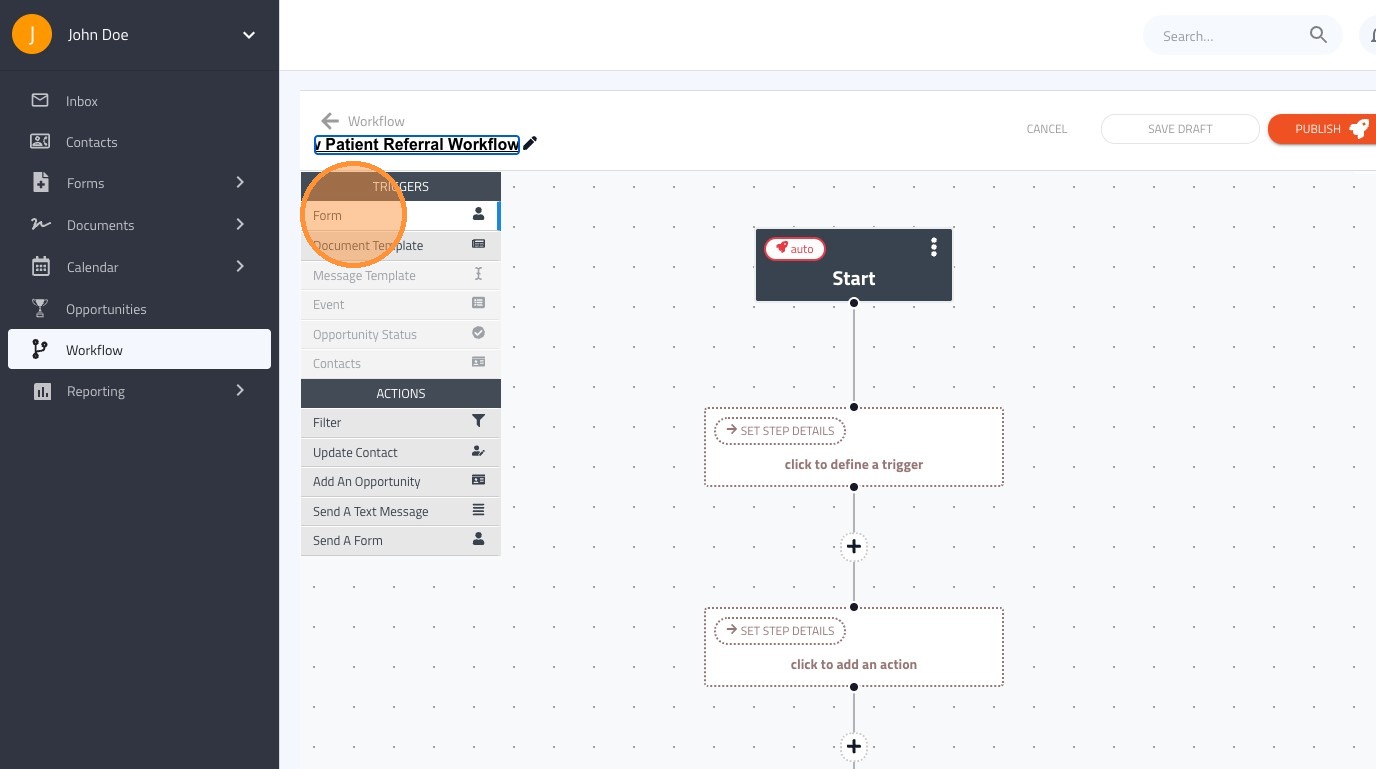
3. Click the pencil icon to edit the name of the workflow
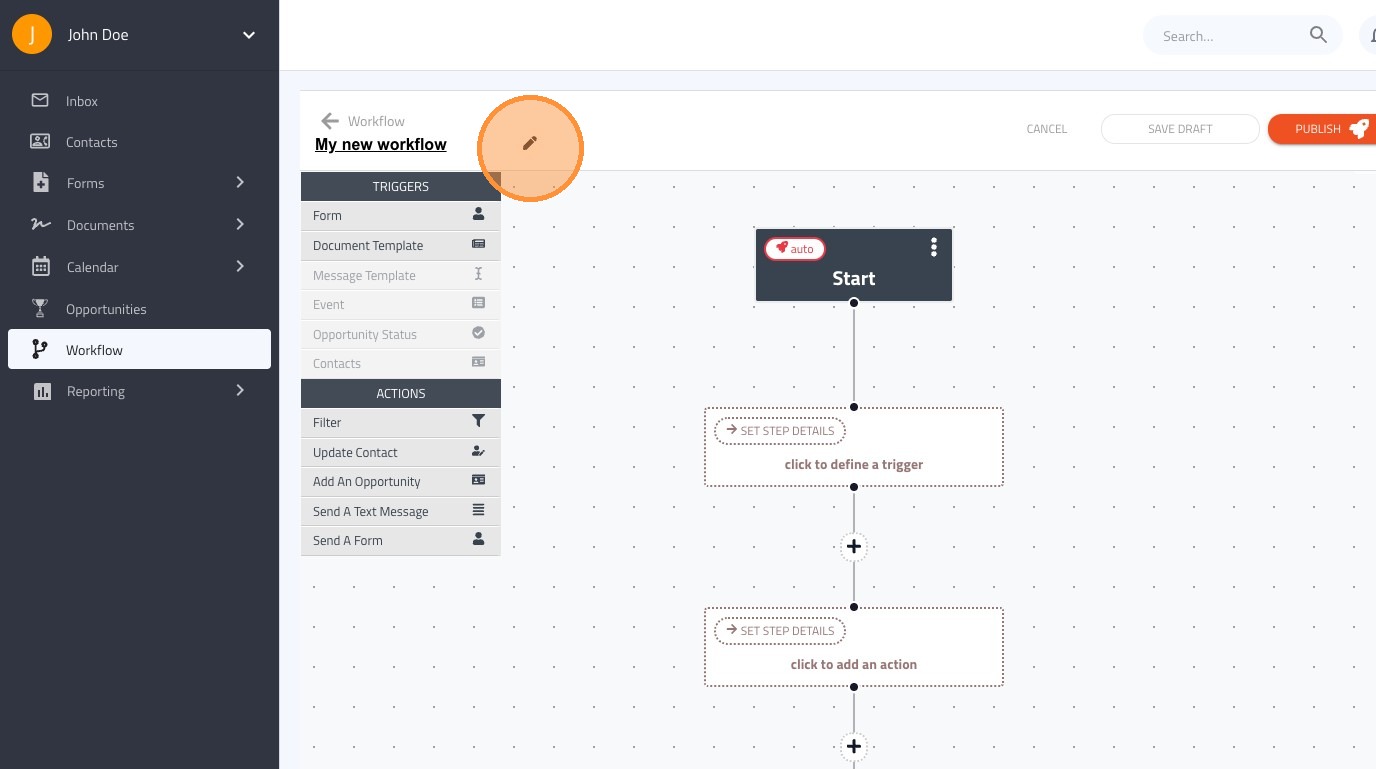
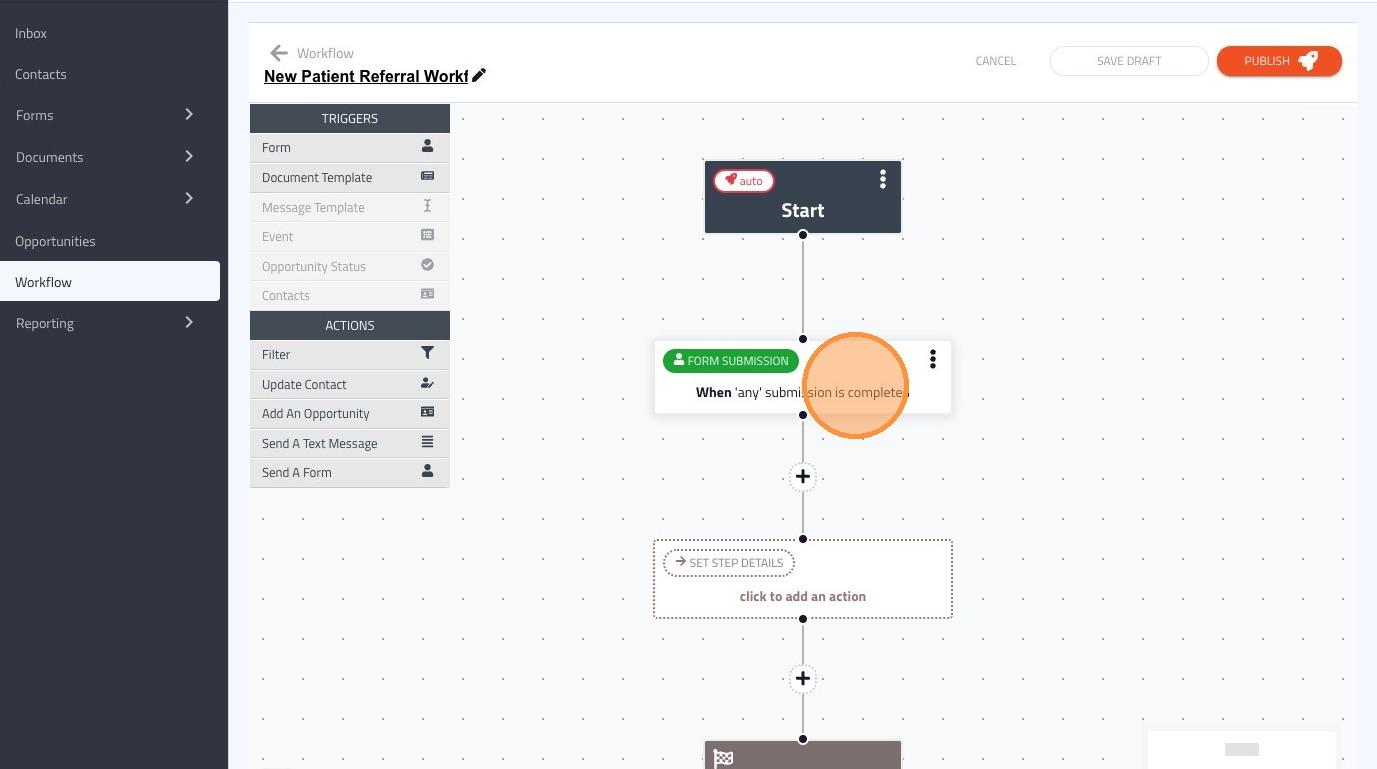
4. Click and drag the "form" trigger, into the first step of the workflow
5. Once the trigger is in place, click on the trigger to customize it
6. You can manage a form submission trigger by selecting a specific form or packet that triggers the workflow
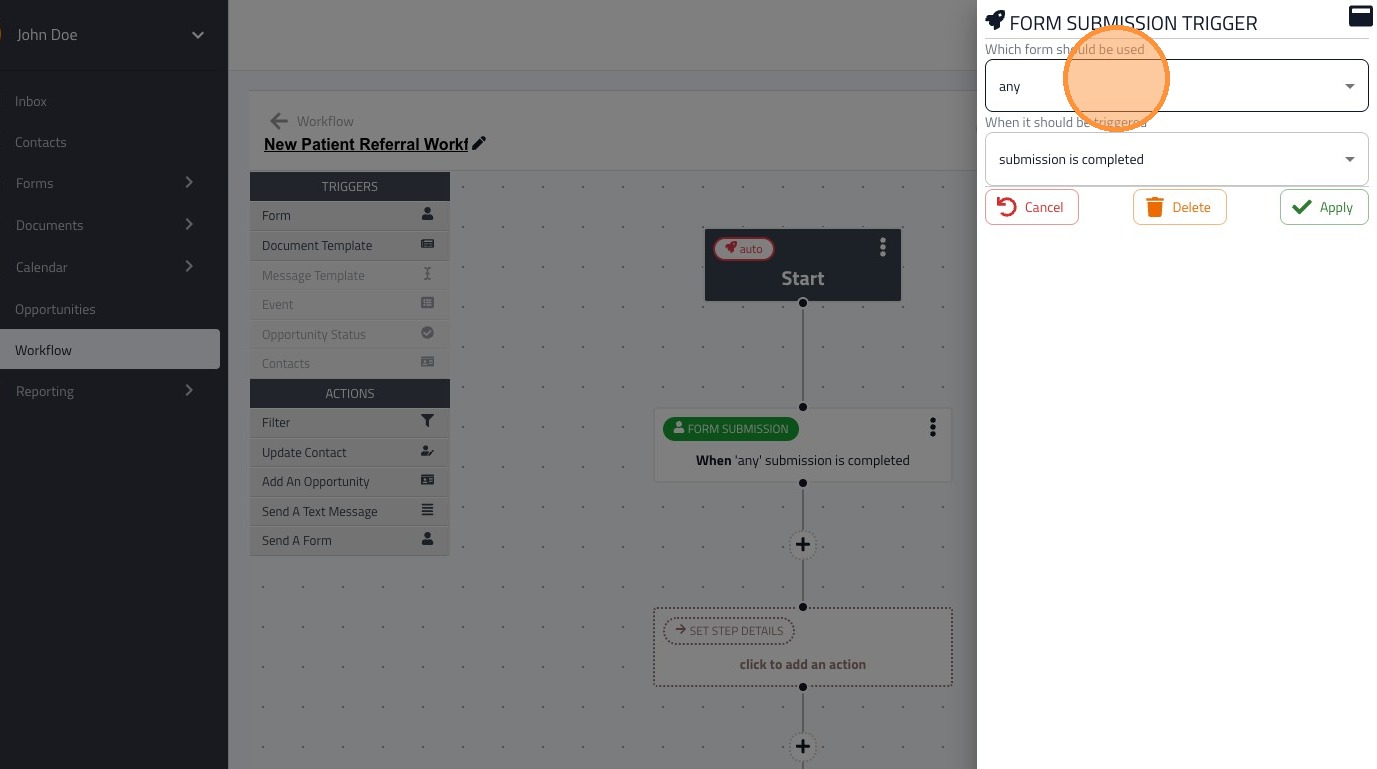
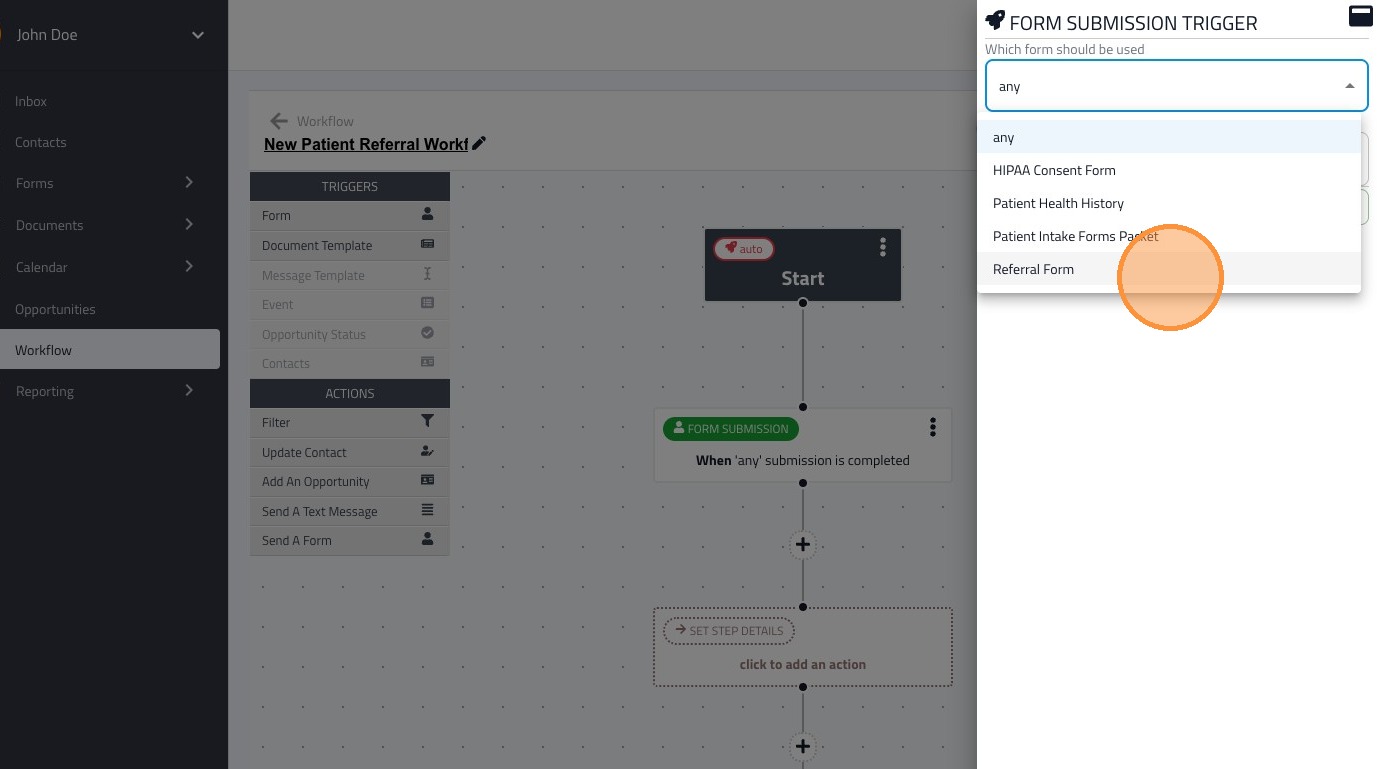
7. Select the form or packet you want to trigger the workflow
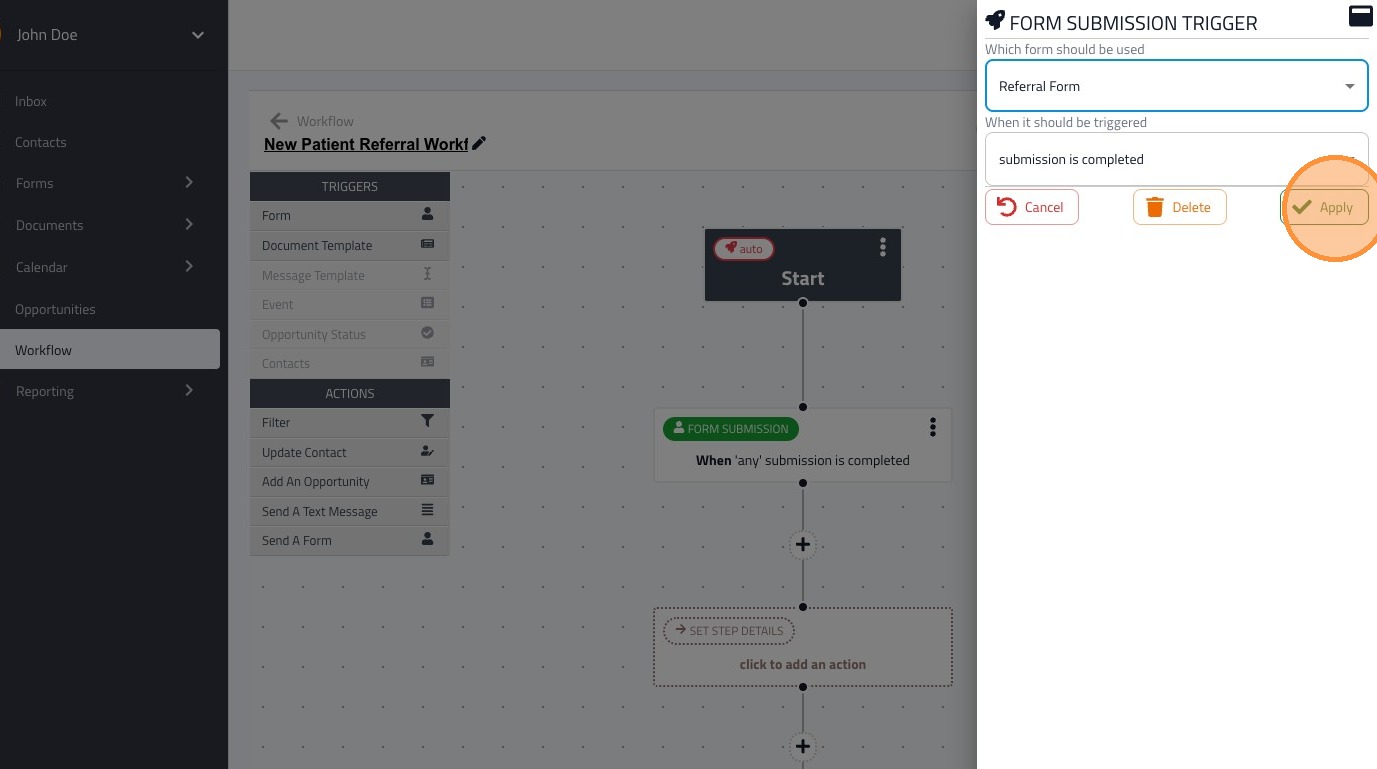
8. Click "Apply" once you have completed adjusting the trigger settings
9. Next you can add actions to take place after the trigger starts, click "add an opportunity" to drag and drop it on the first action
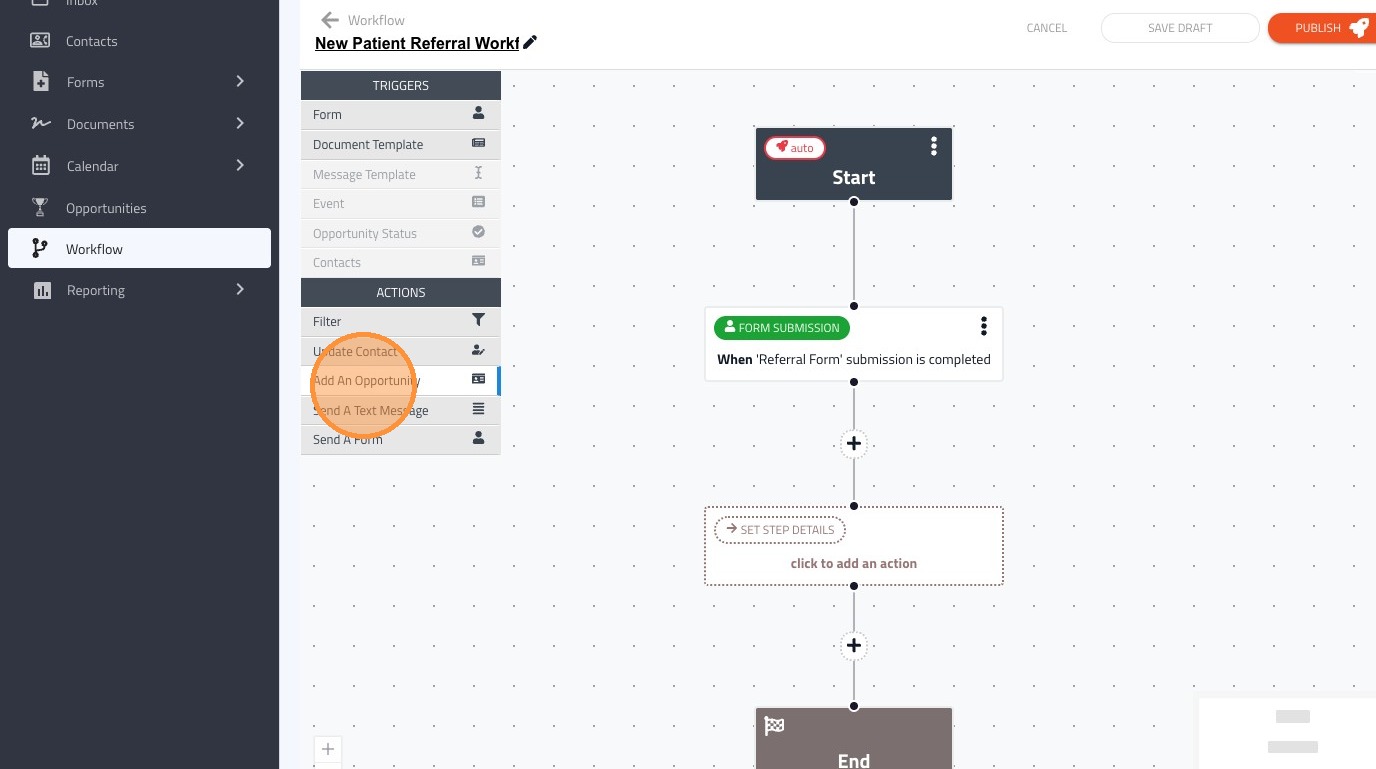
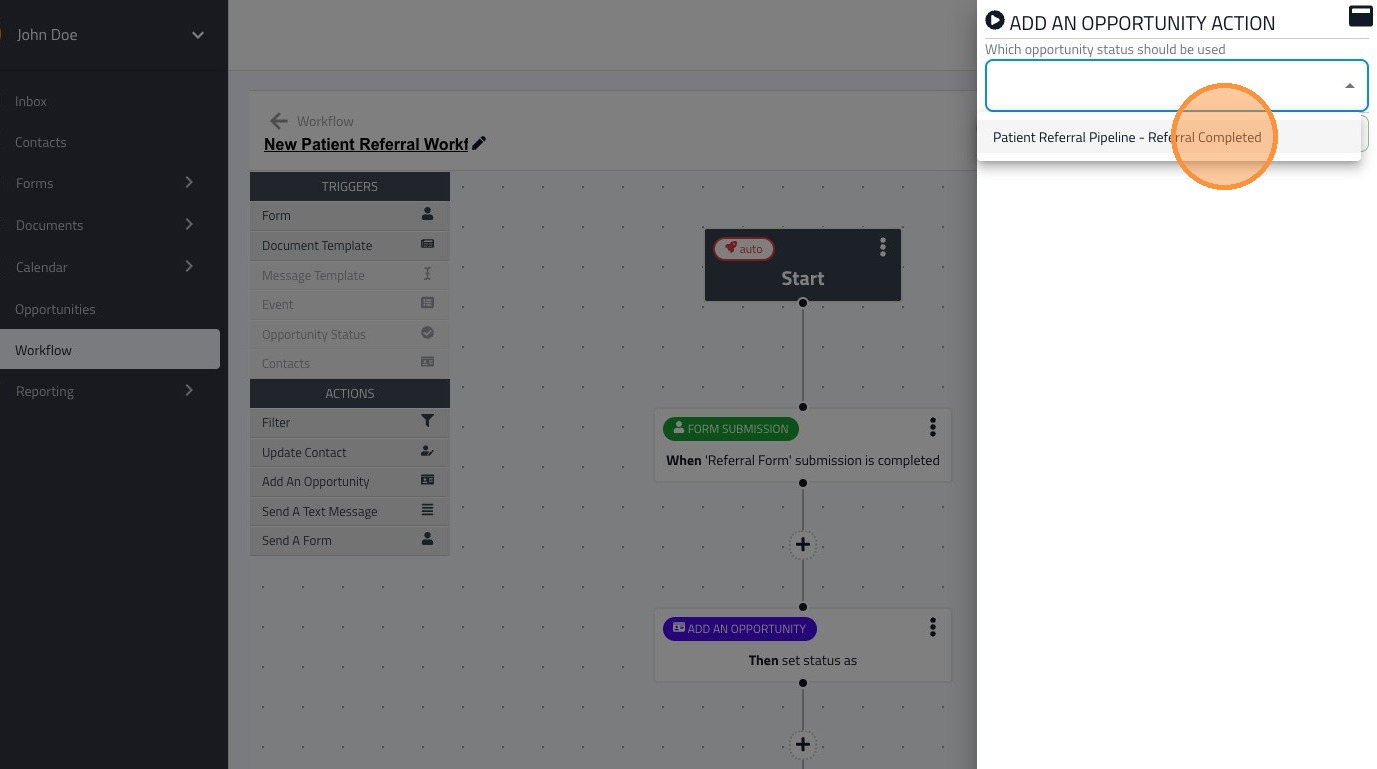
10. Click on the opportunity workflow widget to edit what status to be set on the form completion.
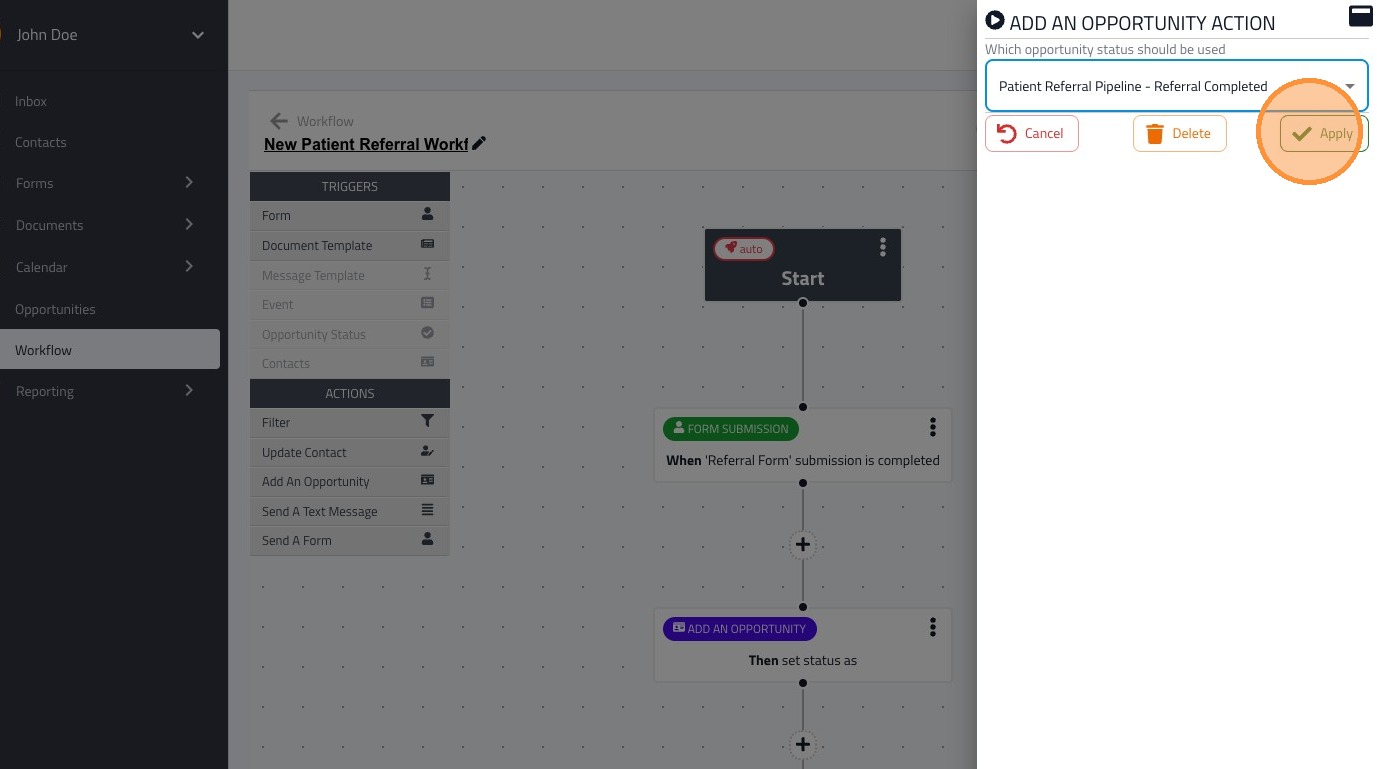
11. This workflow will apply the "Referral Completed" opportunity status to the contact
12. Click "apply" once you are finished modify the settings of the action
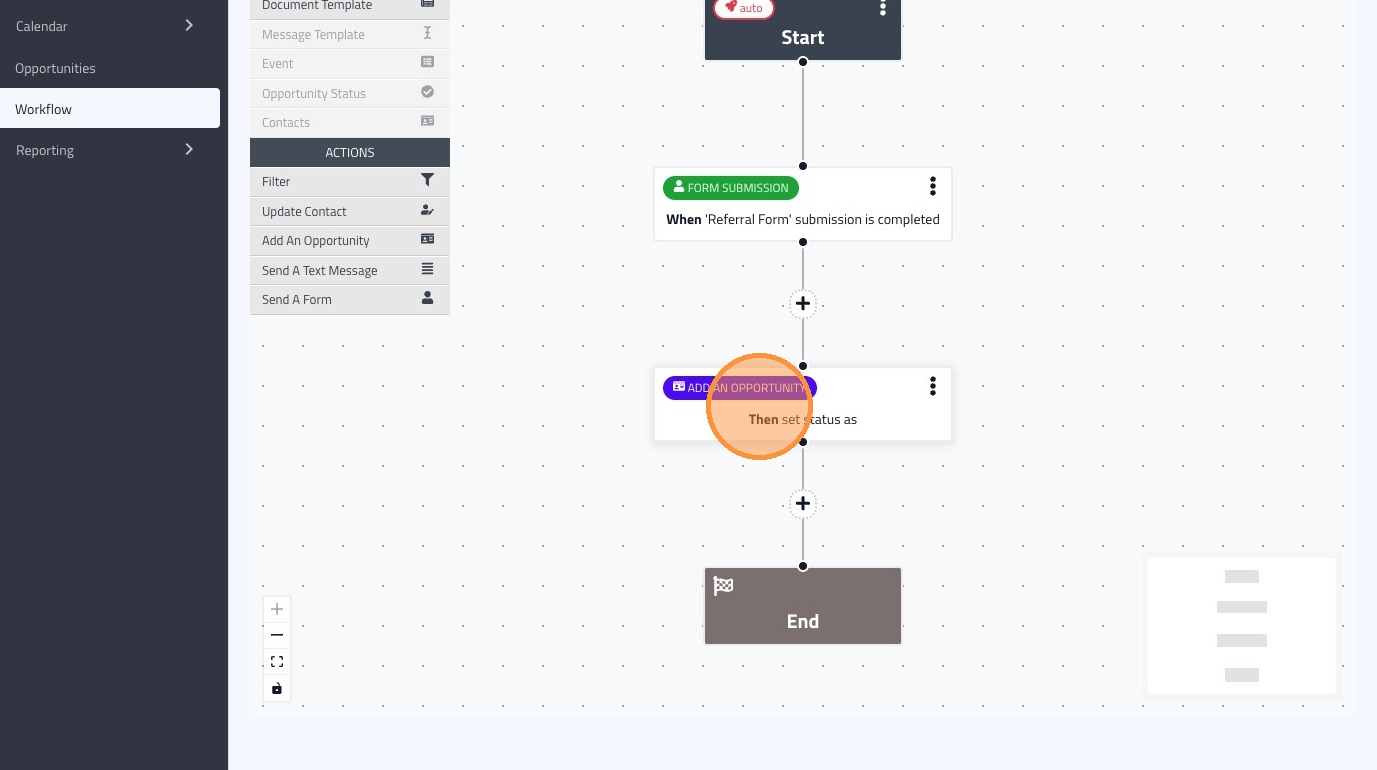
13. To add more actions, click the "plus" sign where you would like the action to take place.
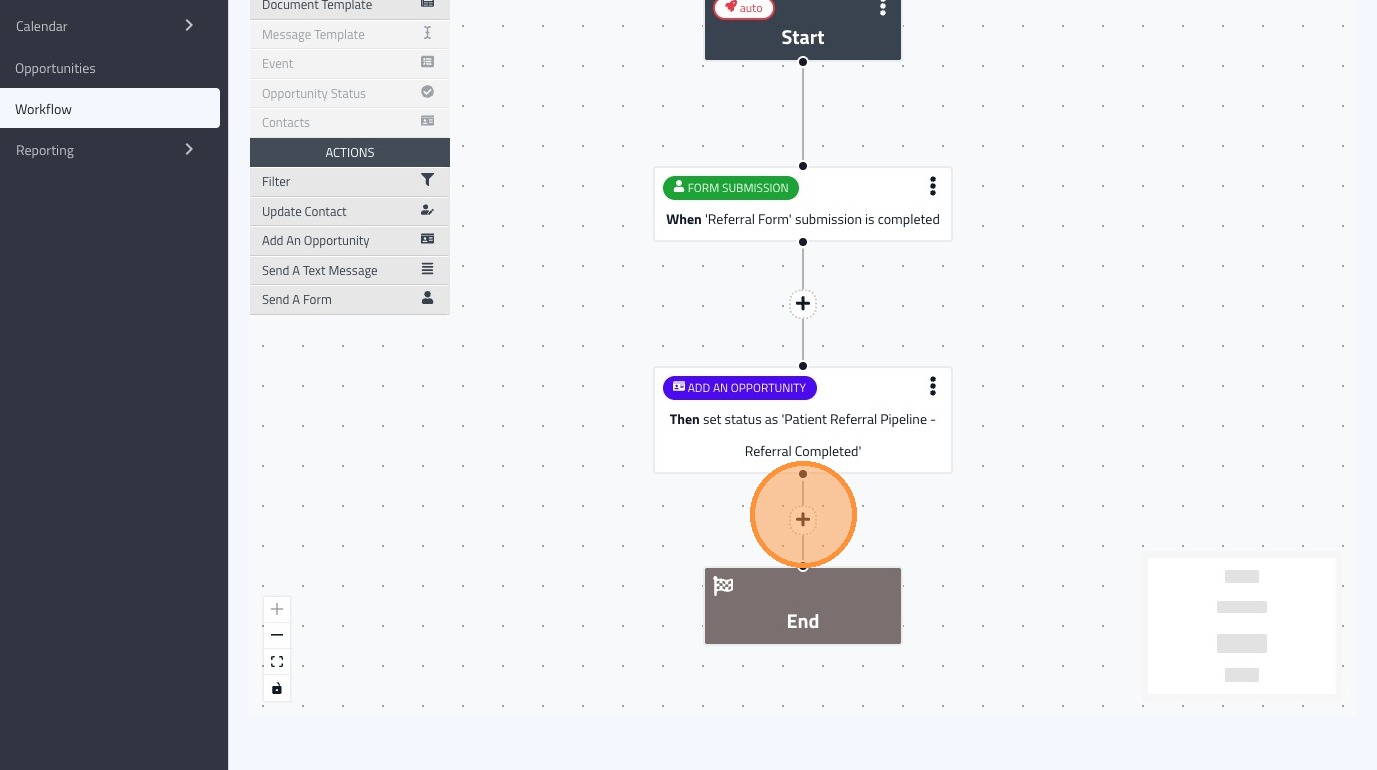
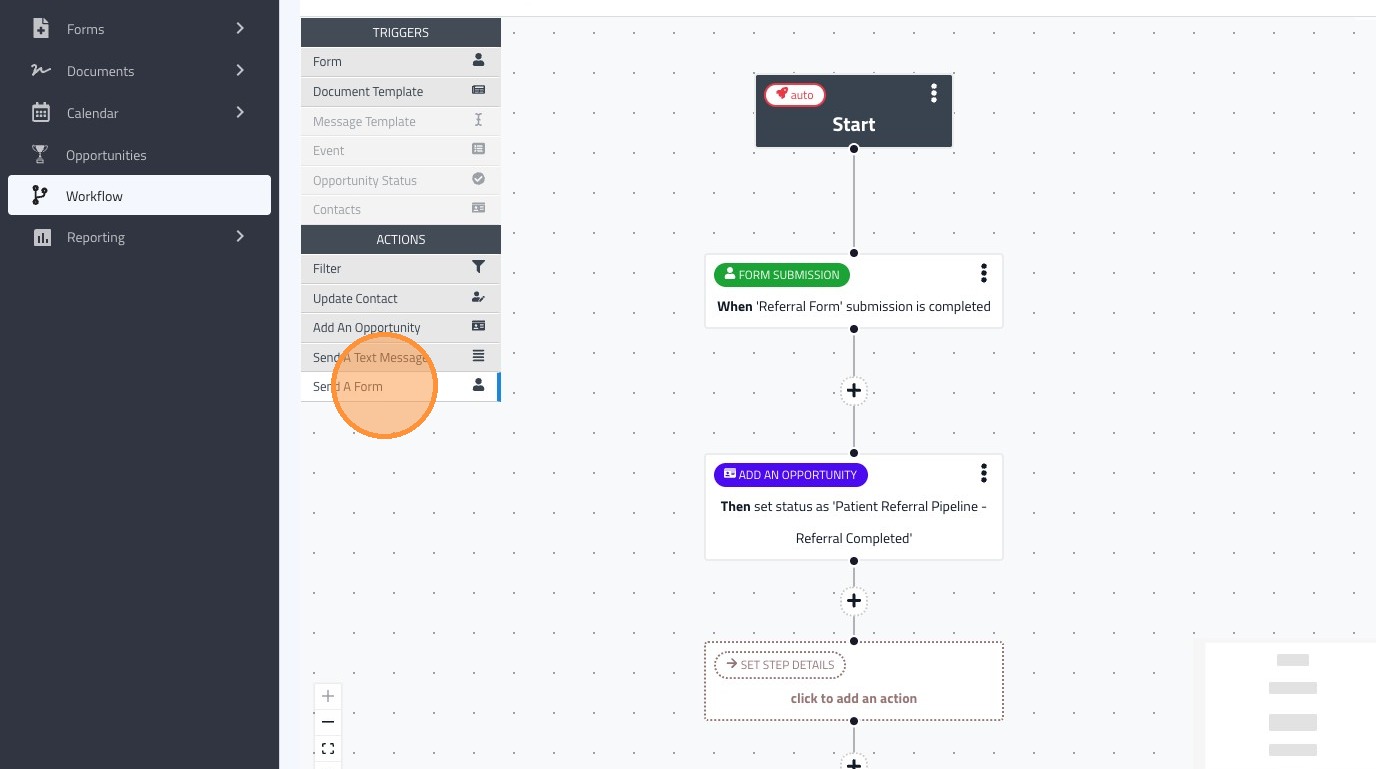
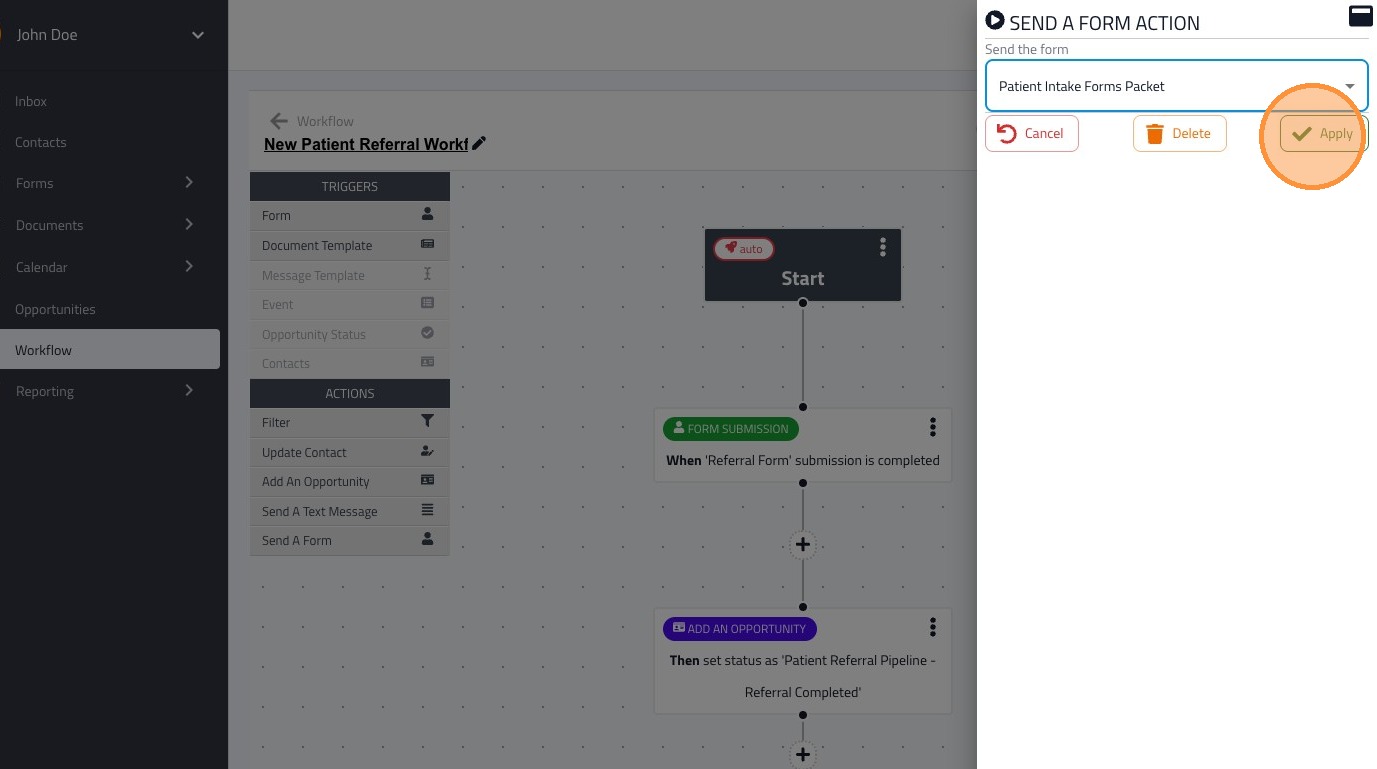
14. We will be adding the "send a form" action to the workflow
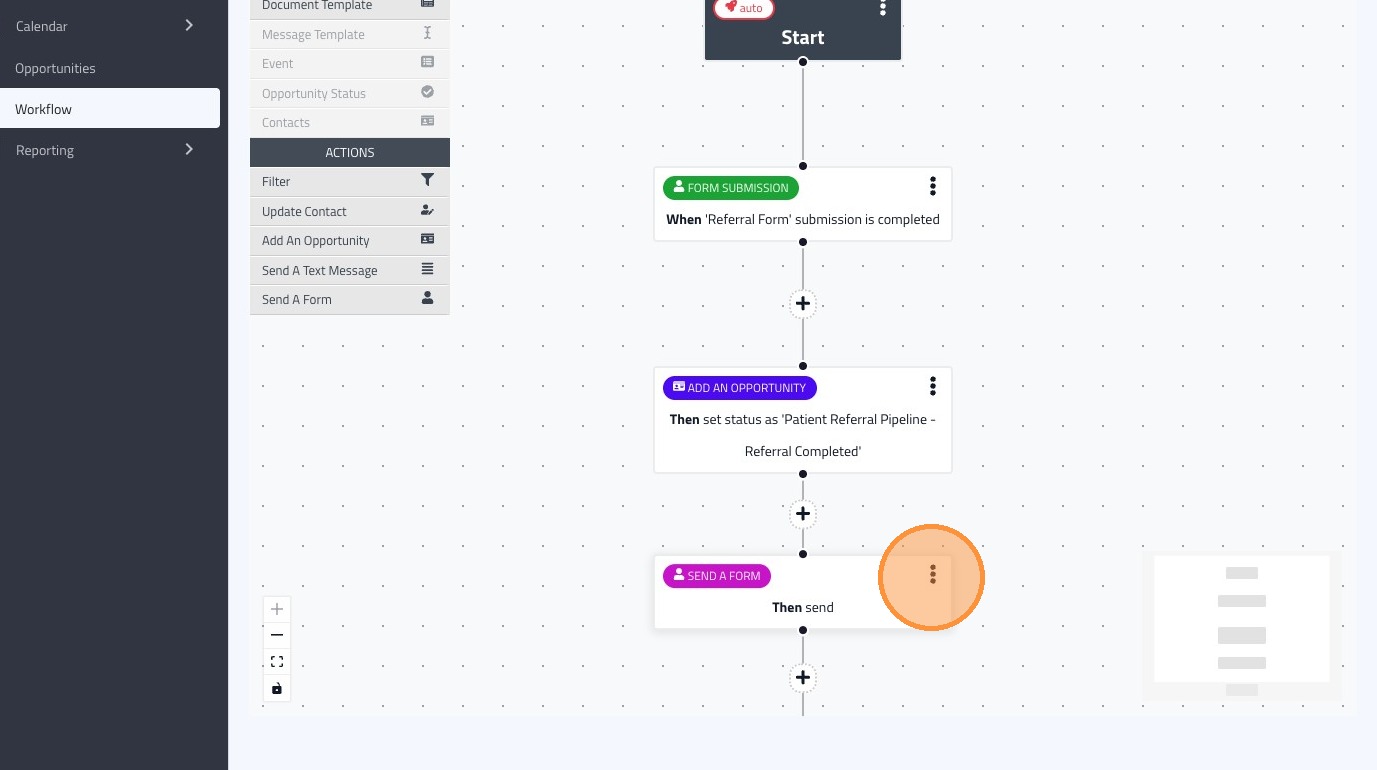
15. Edit the action by clicking on it in the workflow
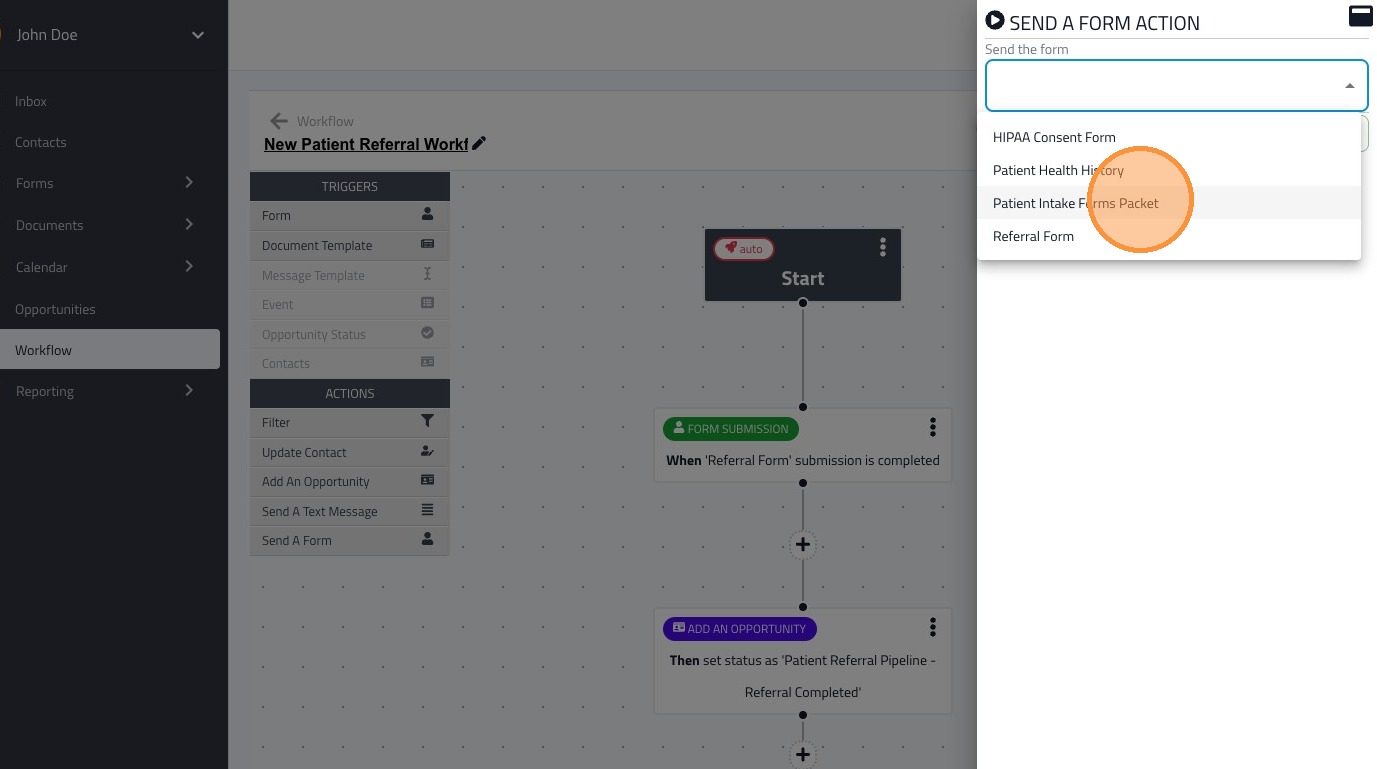
16. Select the forms you would like to send to the contact, we are sending the "Patient Intake Forms Packet" in this example
17. Click "Apply" when you are done editing the action
18. We will add one final step to this workflow
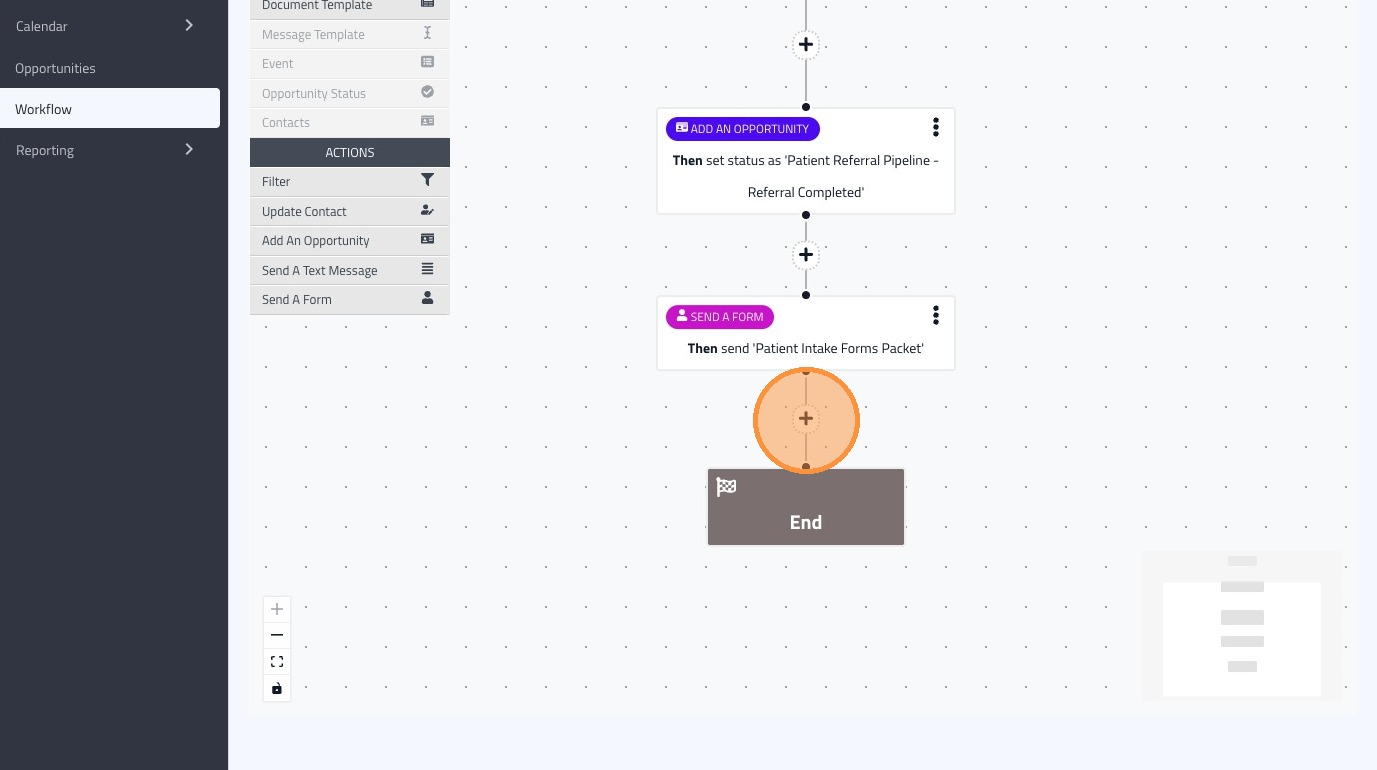
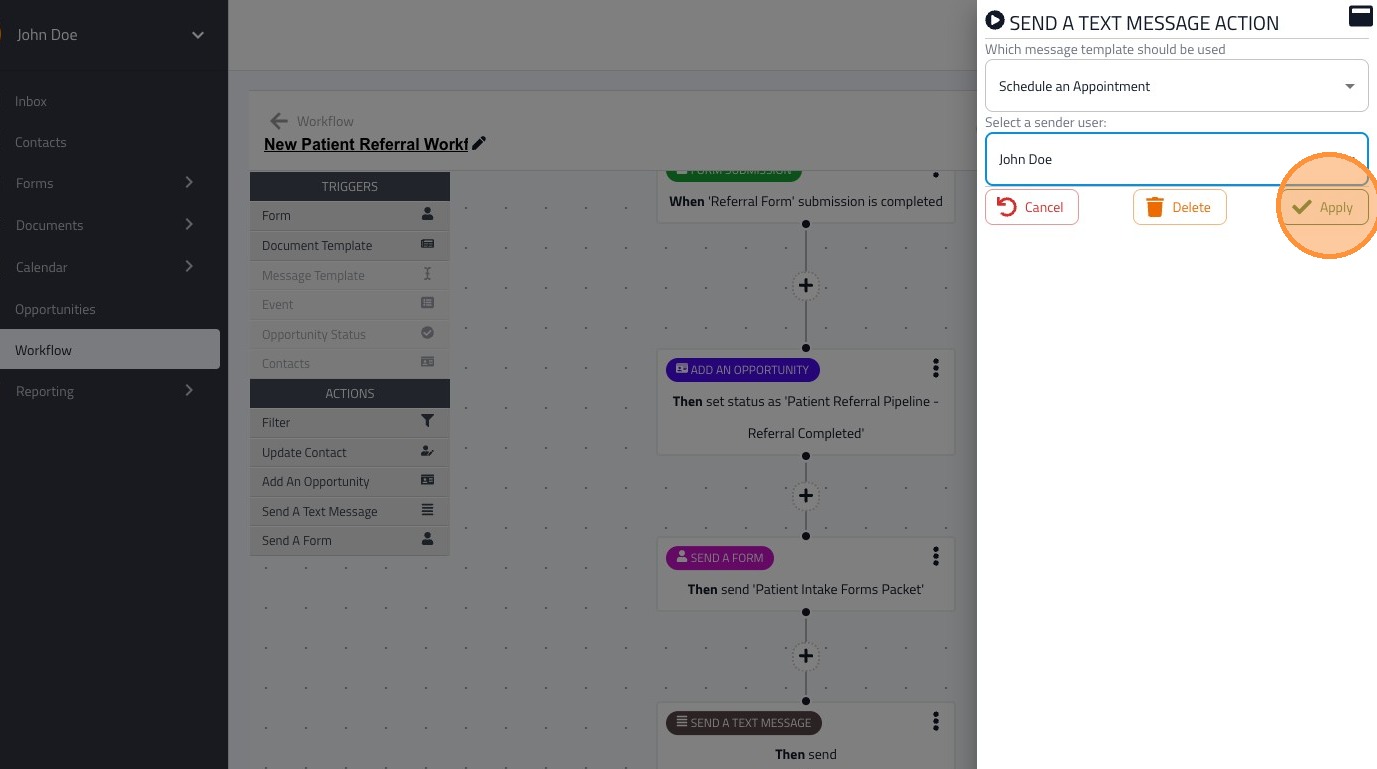
19. Click "send a text message" to drag and drop it to the empty action state in the workflow
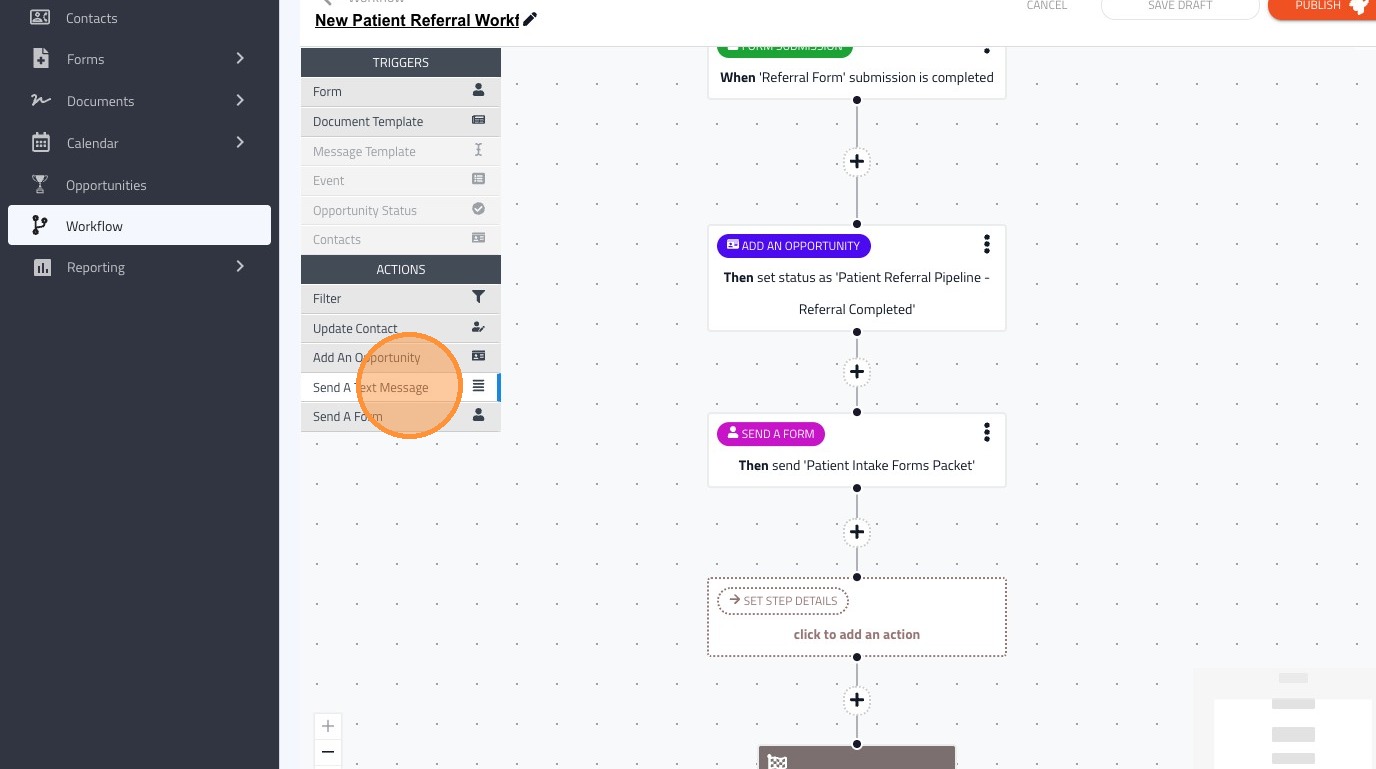
20. Edit the action by clicking on it

21. Since we are sending a text message, we will need to select the text message template we want to send, in this example we will send the "Schedule an Appointment" template

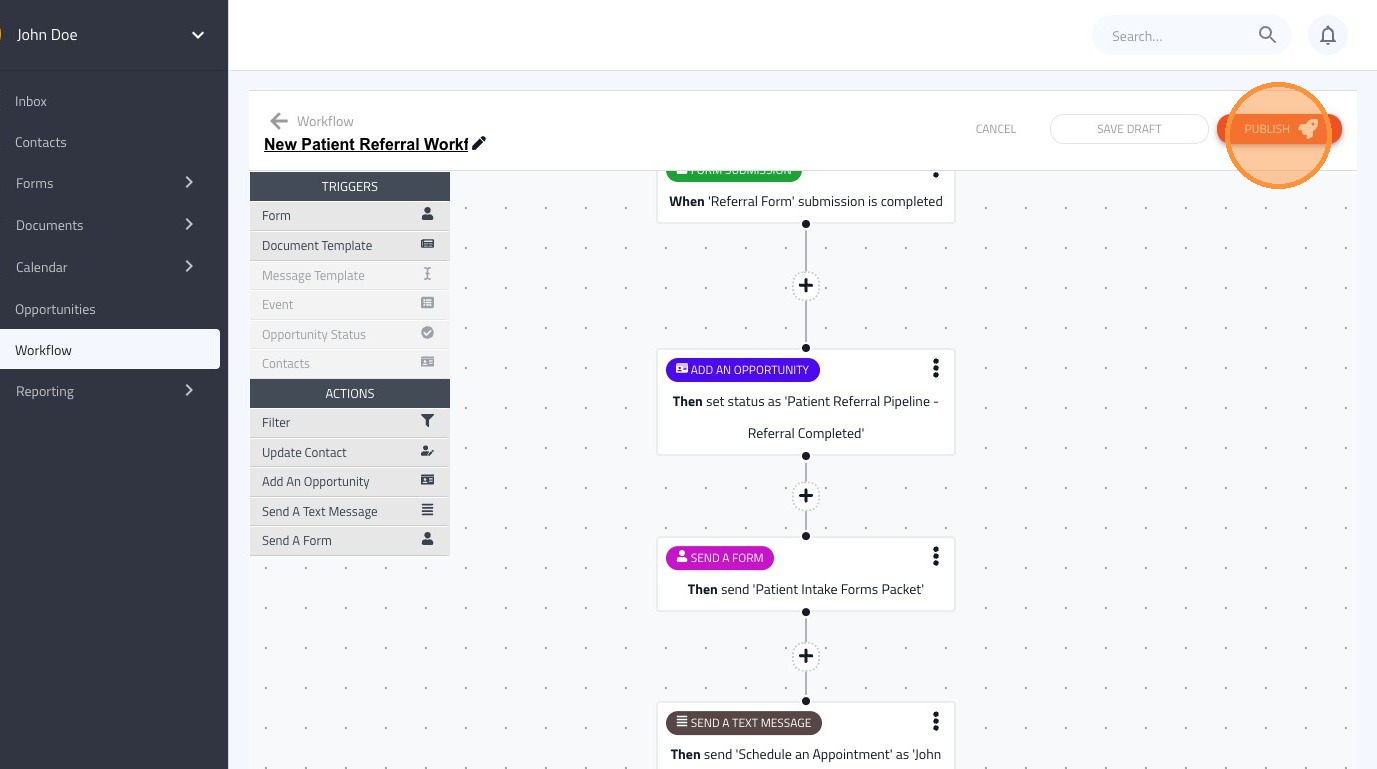
22. Select the user who will be sending this text message
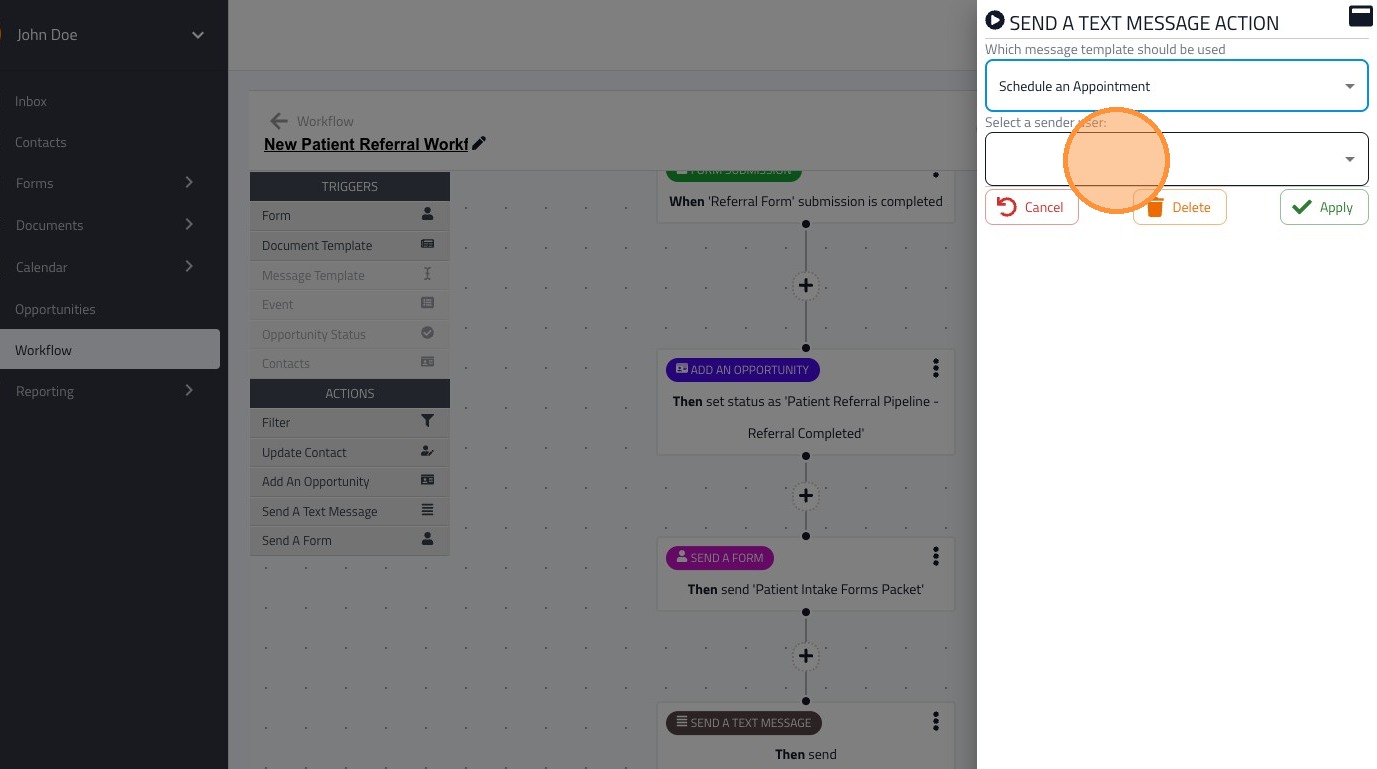
23. Click "Apply" when you have finished updating the action settings
24. Click "Publish" to make your workflow live